Getting started with Incy POS
This guide provides how to get start with Incy POS app. You can use it as a starting point and as a reference to make sure that you don't forget any key tasks. If you are familiar with android app installation you can skip the first step.
In this section
Download the Incy POS app
Before you working with Incy POS, you should have to download it from Play Store, following images will help you to download the Incy POS app from play store.
Steps:
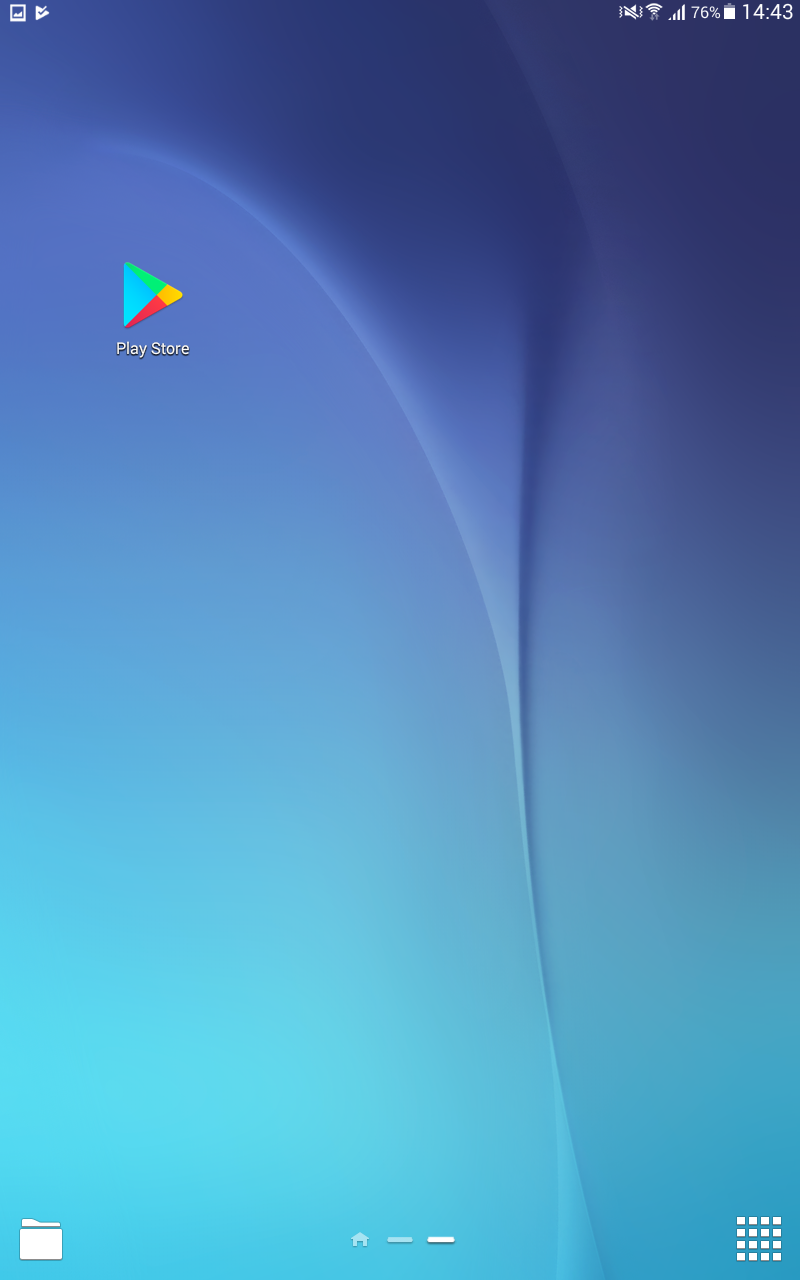
- Open Play Store app by click on Play Store icon.
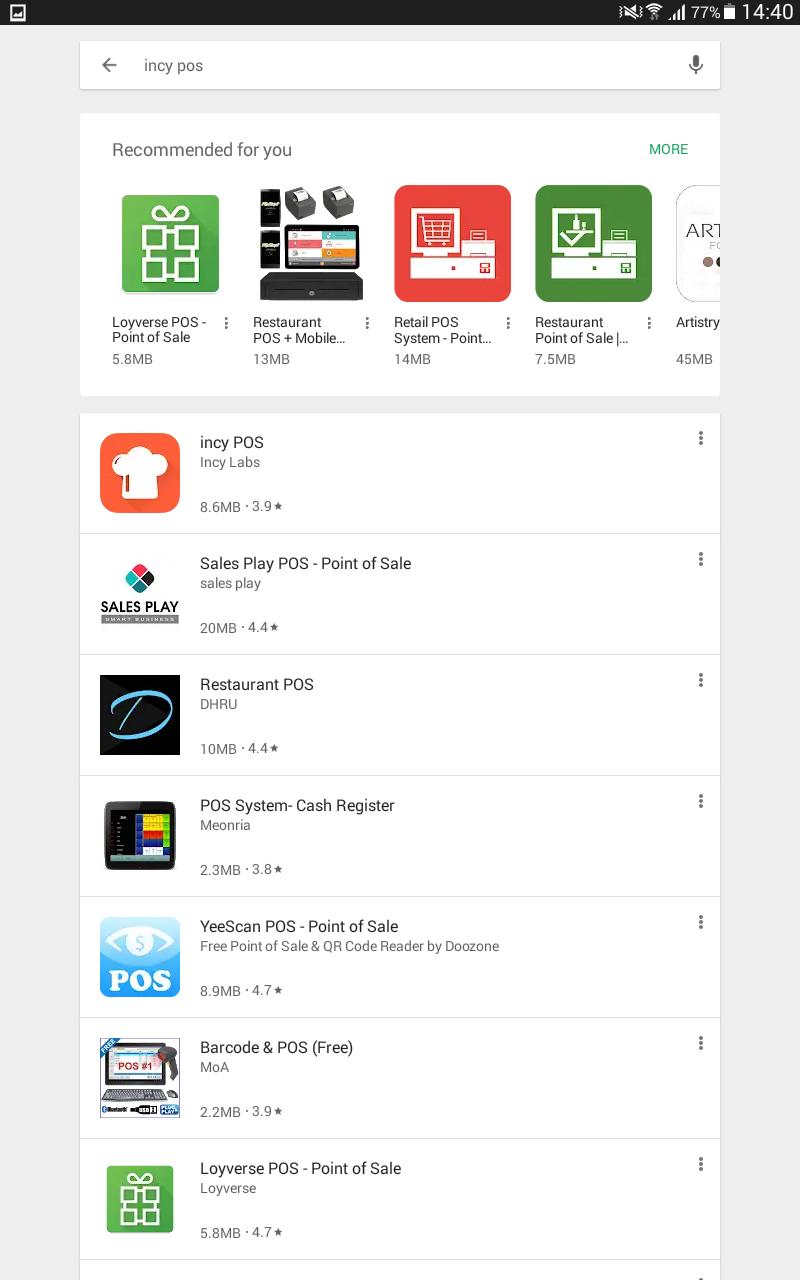
- In search bar just type "incy pos" and search.
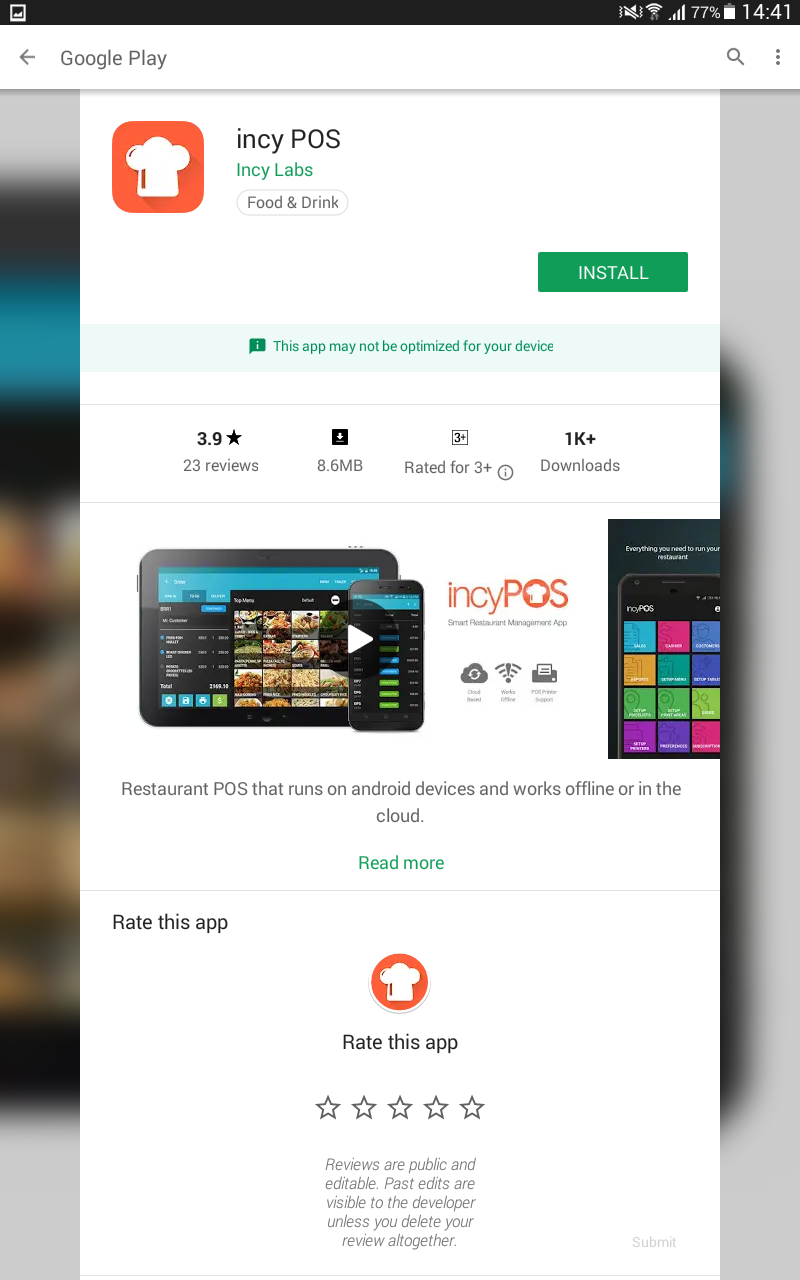
- Click on incypos app which is in app result list and install it.
- That's It! You have successfully downloaded the Incy POS app.
Tip: Click on images to see expanded view.
Register your business with Incy POS
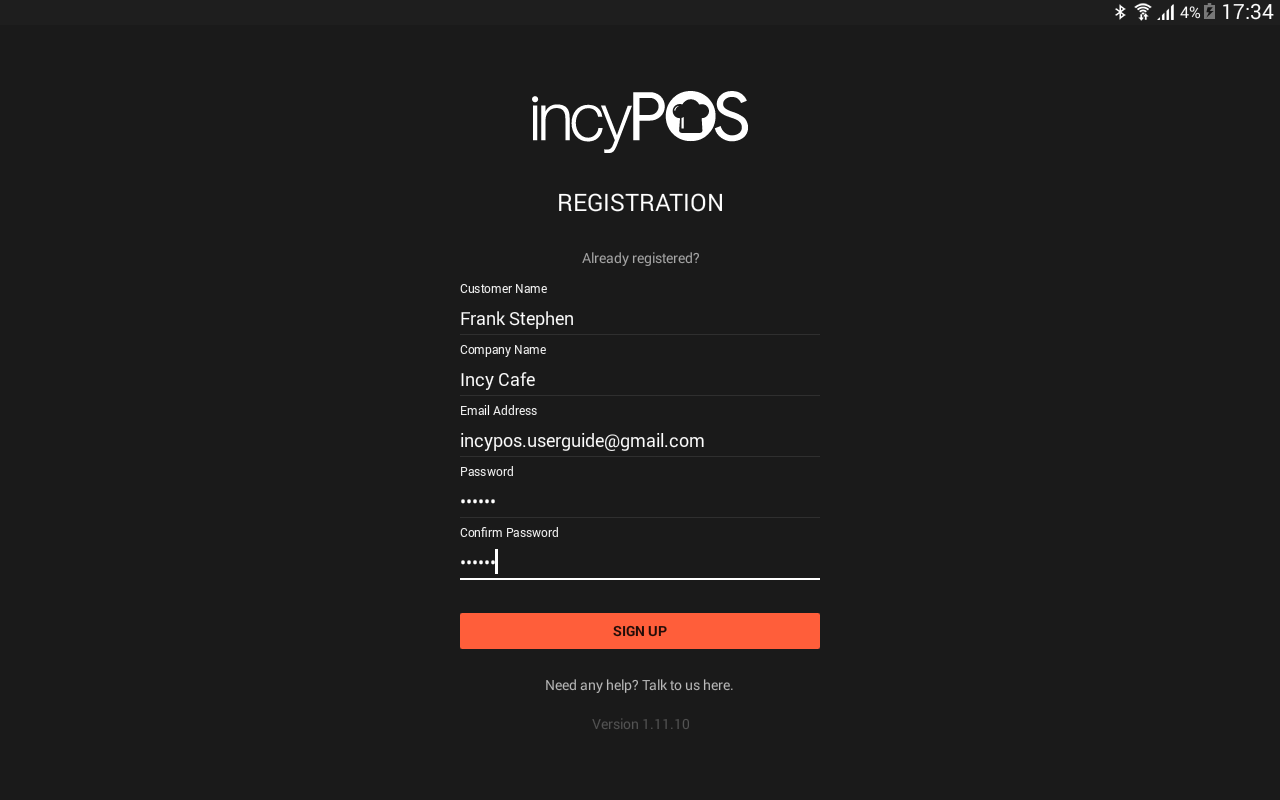
After successfully download the app from play store, you can open the app by click on Incy POS shortcut key. Once you open the app you can see the registration form.
Steps:
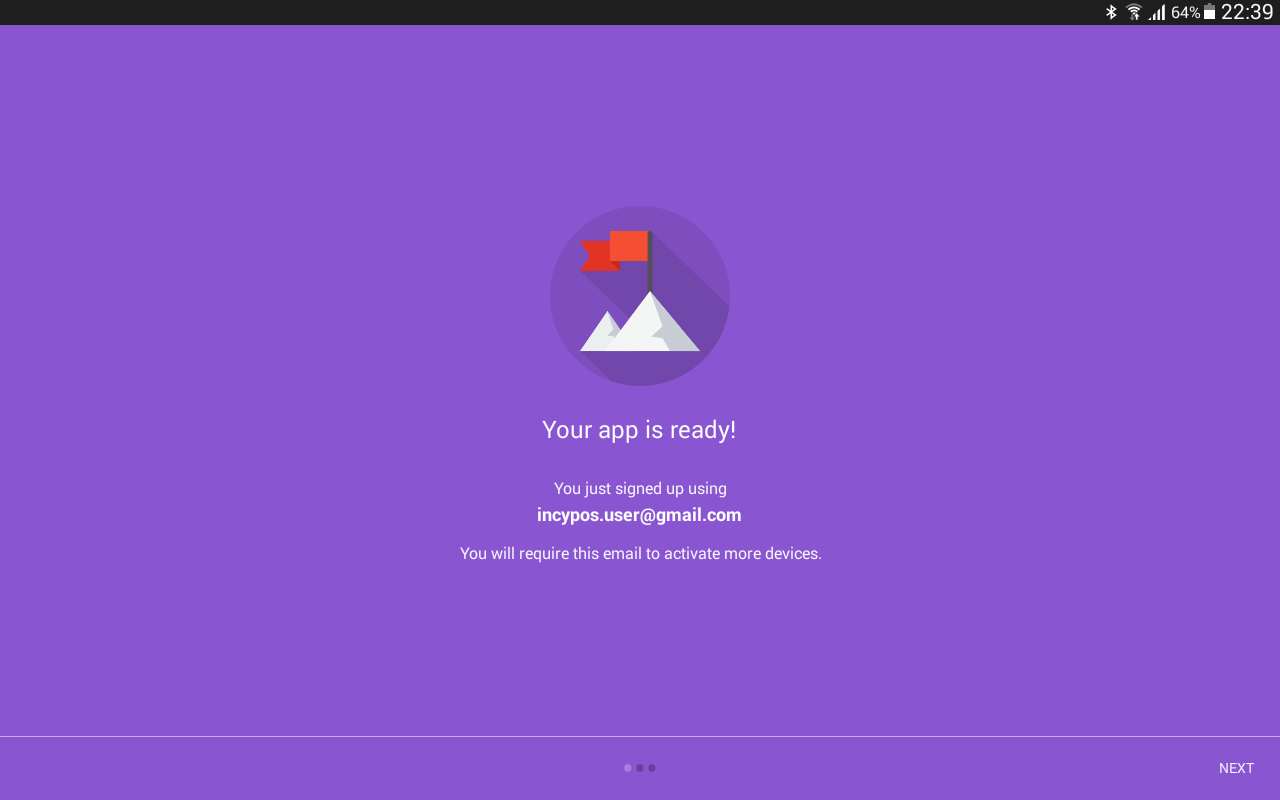
- Fill the form by providing appropriate data and sign up.
- You are almost ready to use Incy POS app, just press the next button right bottom corner.
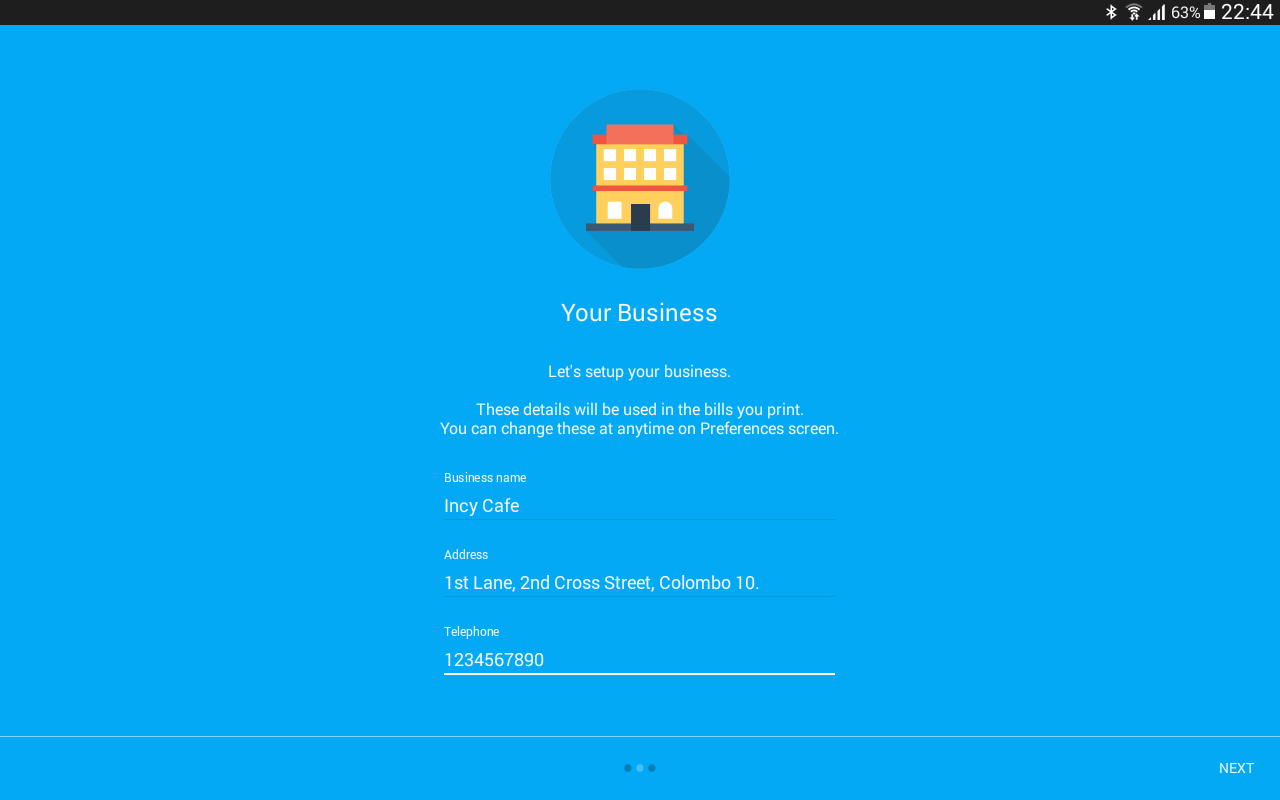
- Set up your business details.
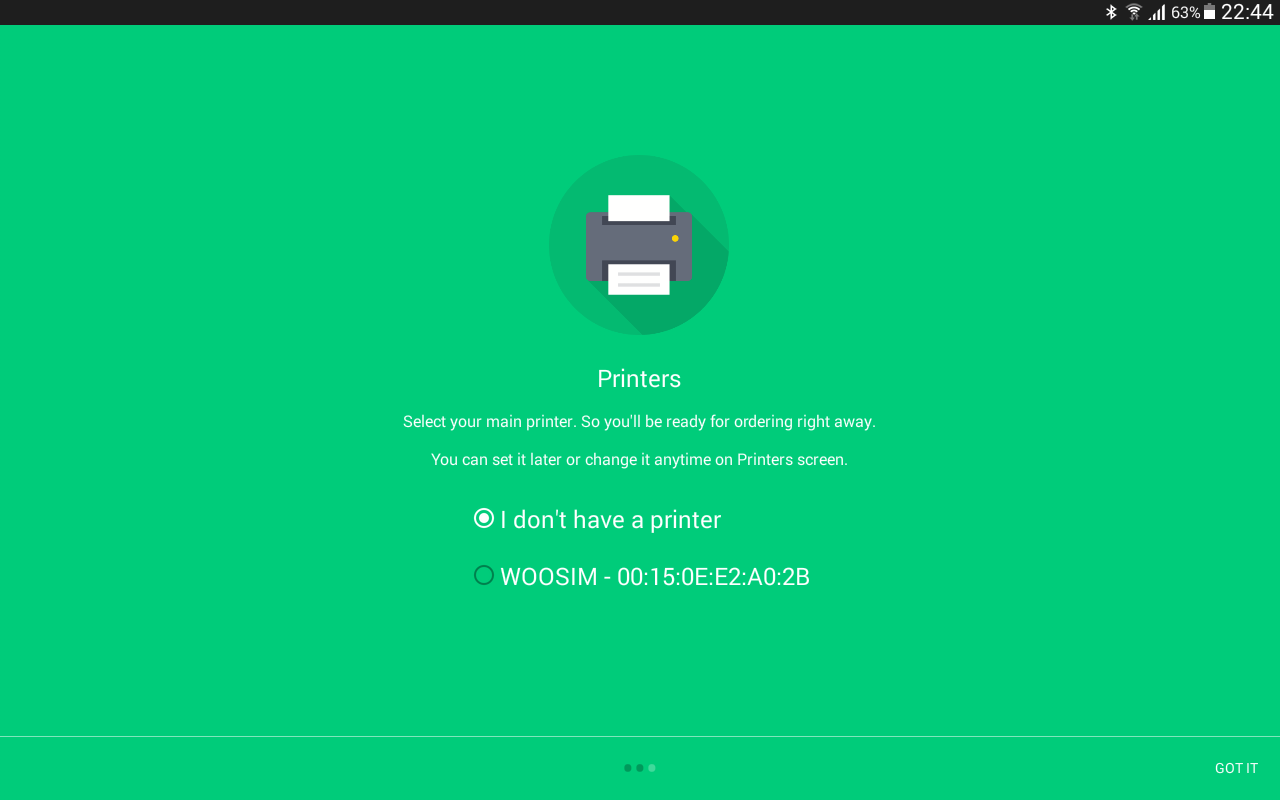
- Set up your printers(If your printers are in switch on mode, you can see the connected printer devices in this screen).
- That's It! Welcome to Incy POS!.

Note:You can change anytime above 3 and 4 steps after complete your setup.
Tip: If you are already registered user, you can select the already registered user option and just sign into incy POS by providing email and password.
Import the menu from excel sheet
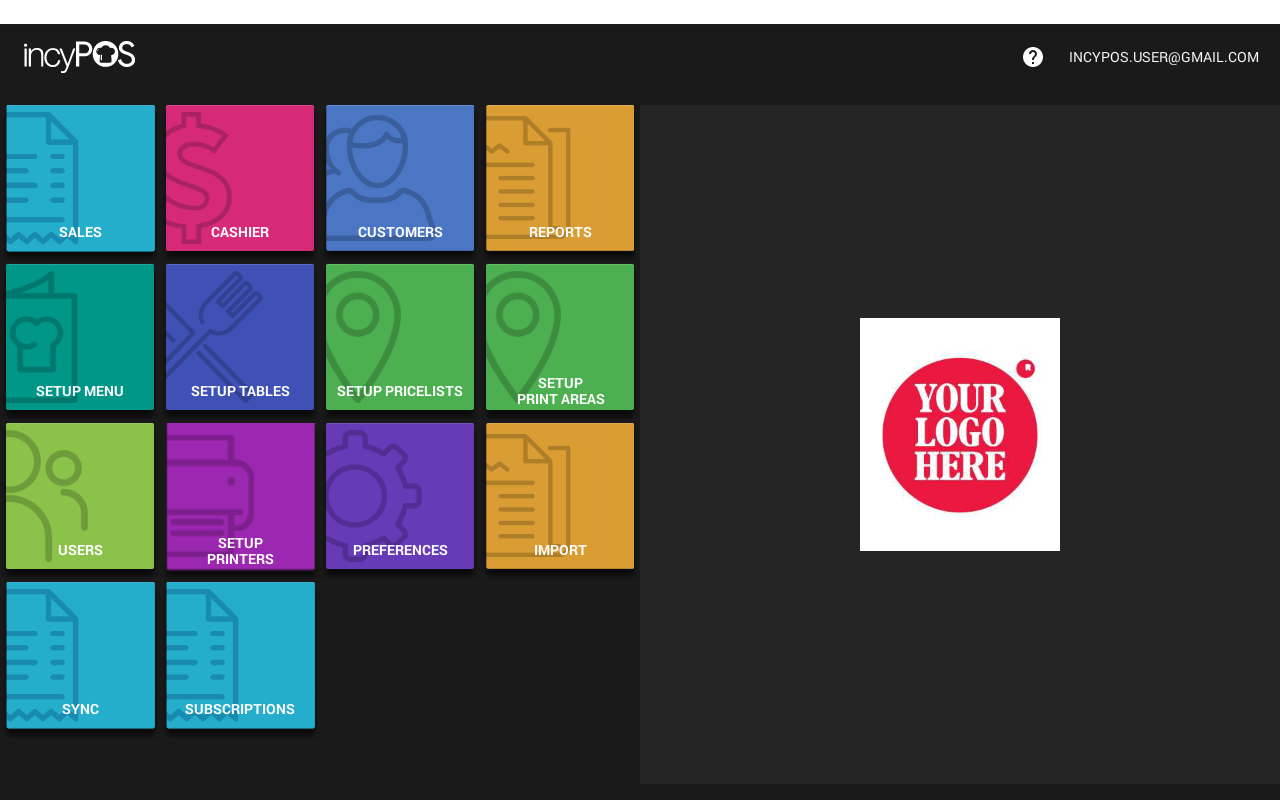
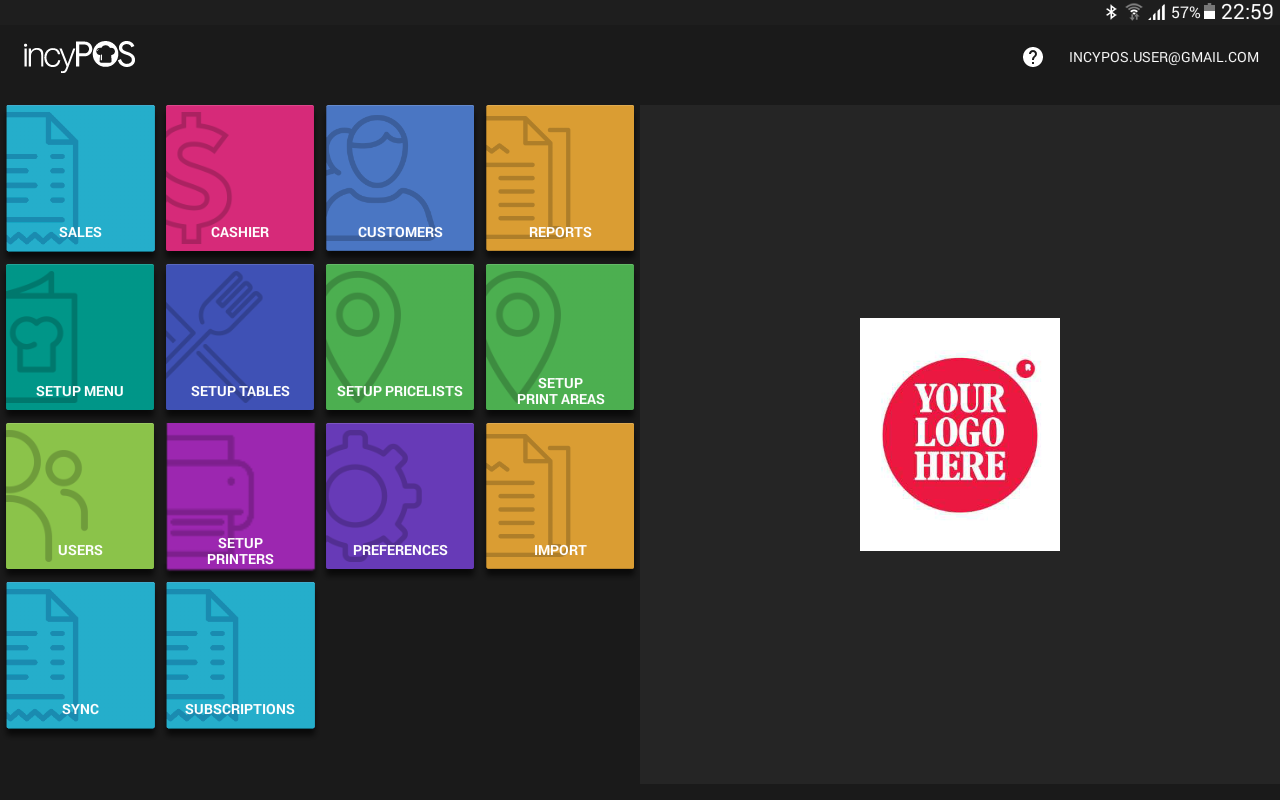
Great! now you can see the Incy POS dashboard, are you exciting to place an order ?. Before place an order let’s setup your menu. In Incy POS you can setup your menu either manually or importing your menu by filling our menu template. It’s cool right? Let’s try to import your menu by filling the template.
Steps:
- Select “Import” tile from dashboard option list.
- Download the menu template by selecting “DOWNLOAD TEMPLATE” or click here to download the template.
- Select “Fill the downloaded template” (Template is an Excel file, once select the “Fill the downloaded template” option it’ll ask you to select the file to open and you can fill it).
- Select filled template option.
- Select “Import Menu”.
- Once complete the import process, exit from import screen.
- Then select “Setup Menu” option from dashboard and make sure your import menu is there.

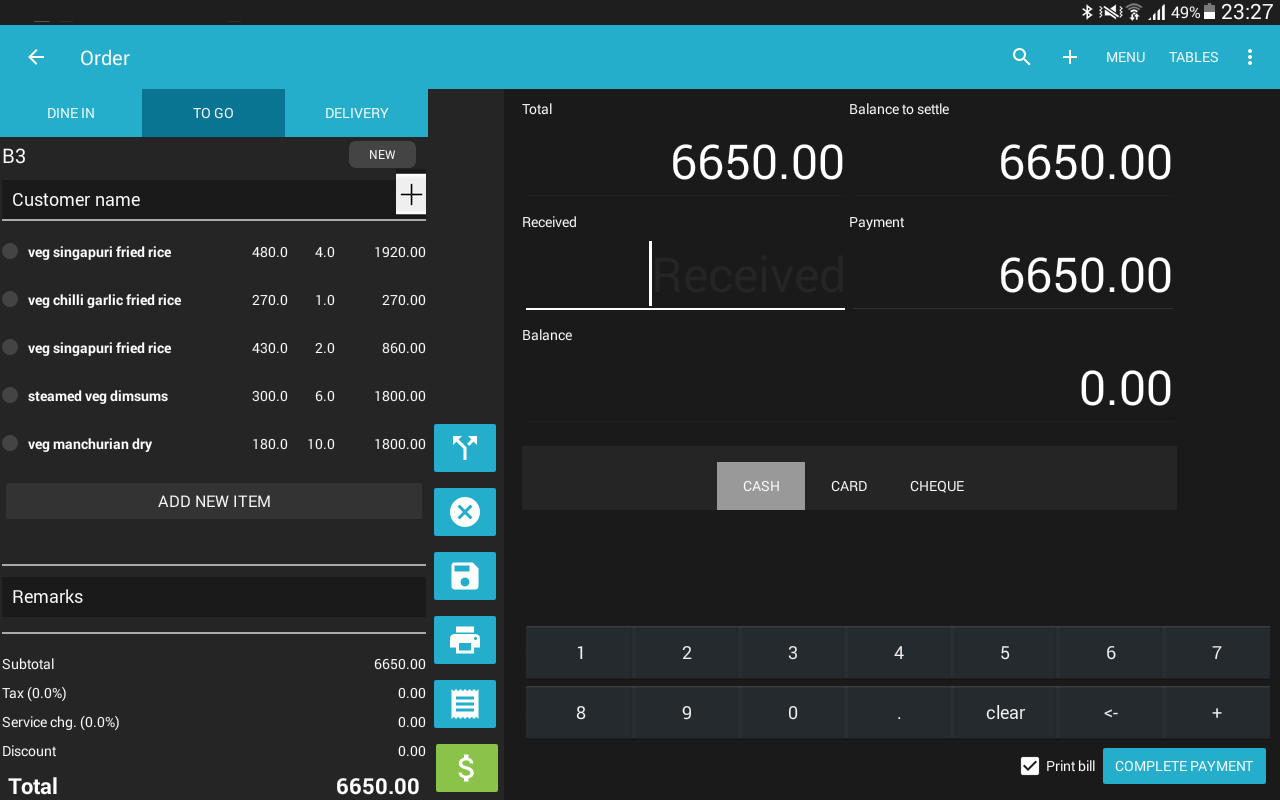
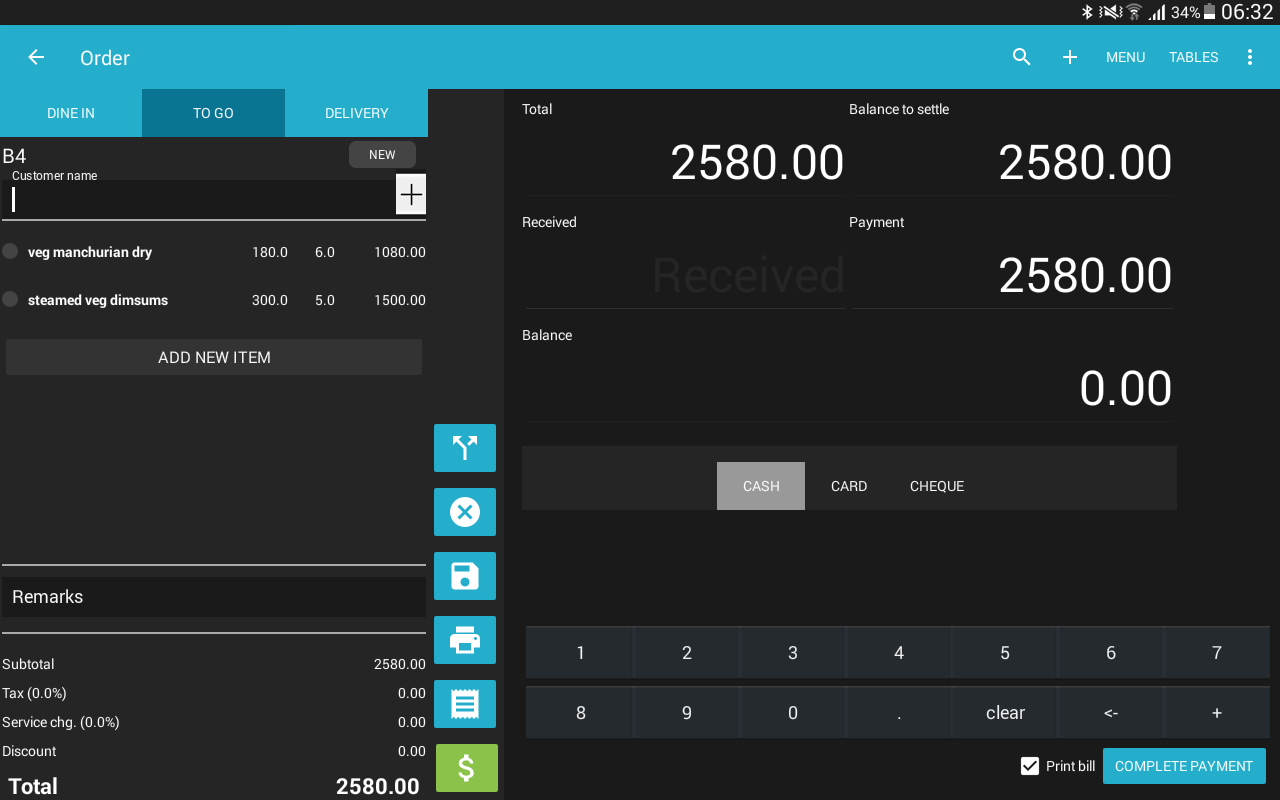
Place a qick order
With Incy POS, you can place an order easily by following below steps.
Steps:
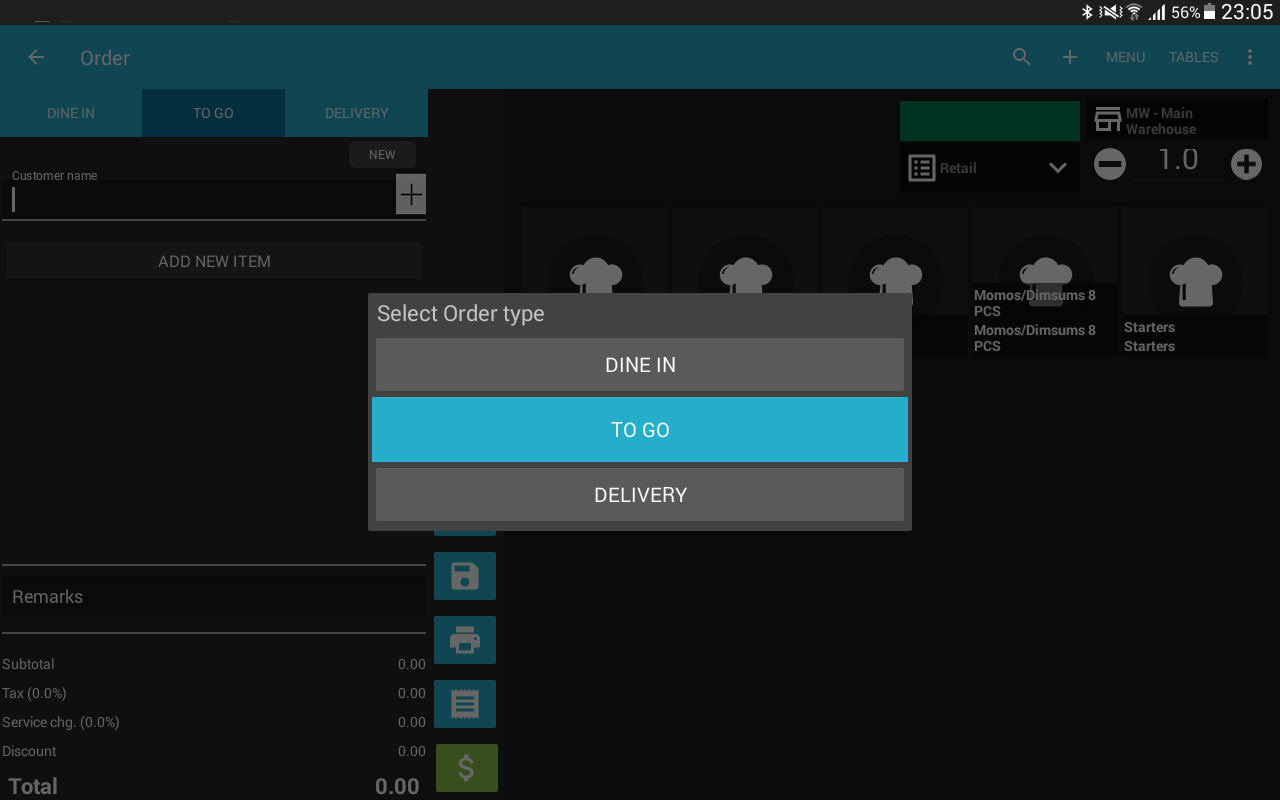
- Select “Sales” tile from dashboard option list.
- Select the order type. (Do you want to place an order without any other configuration ?. Let’s select “To Go” order type).
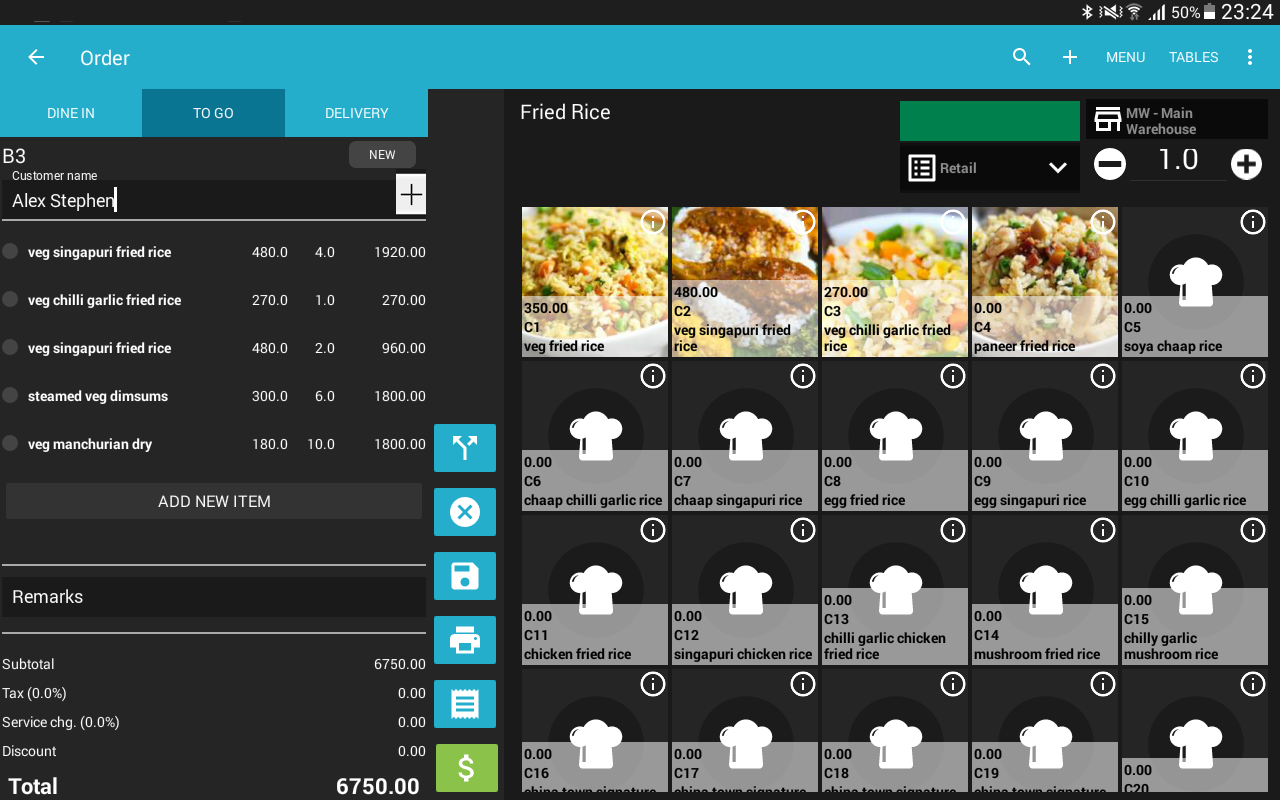
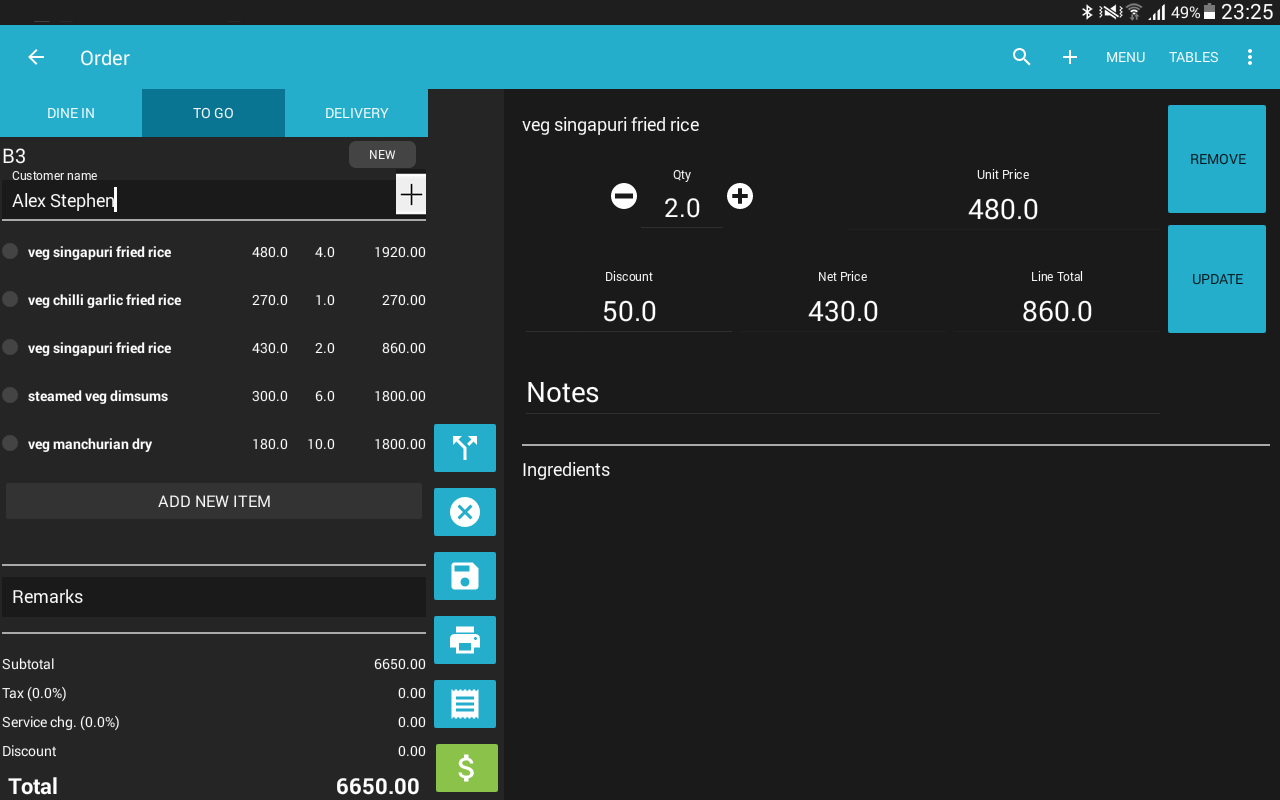
- Add items by pressing “Add new item” button (Note: If you want to update or remove an added item, press on the item which you want to update/remove).
- Save order.
- Print KOT.
- Make payment.

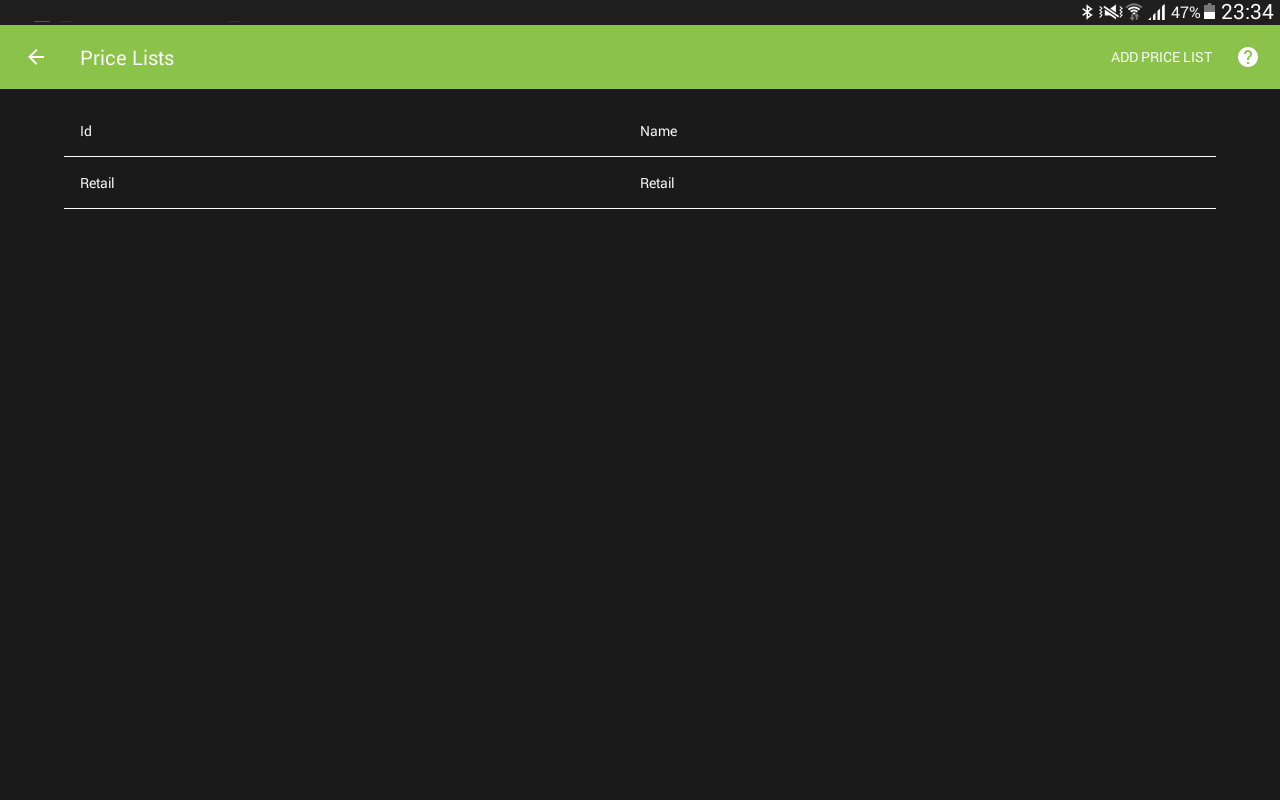
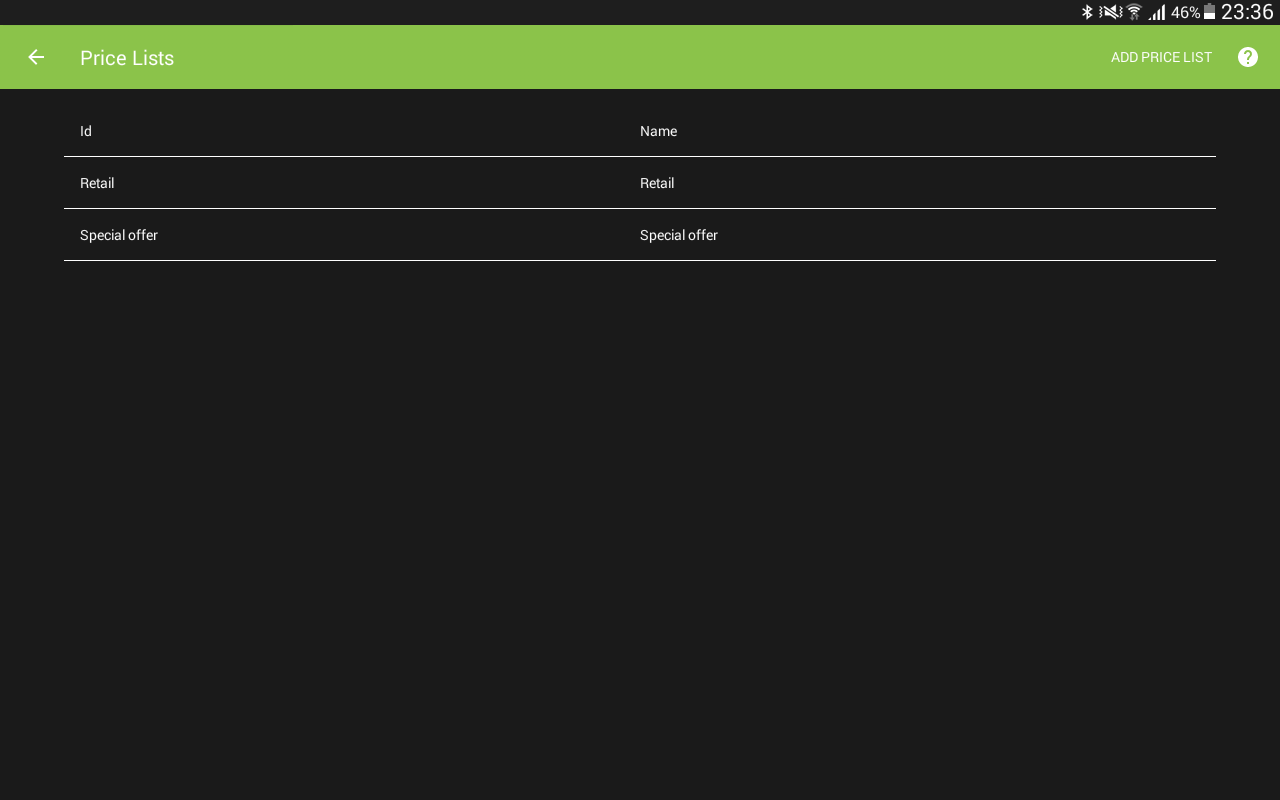
Configure multiple price lists
Define your own price lists. By default, Incy POS provide you a single price list called retail. Following steps will guide you how to define your own price list with Incy POS.
Steps:
- Select “Setup pricelist” tile from dashboard option list.
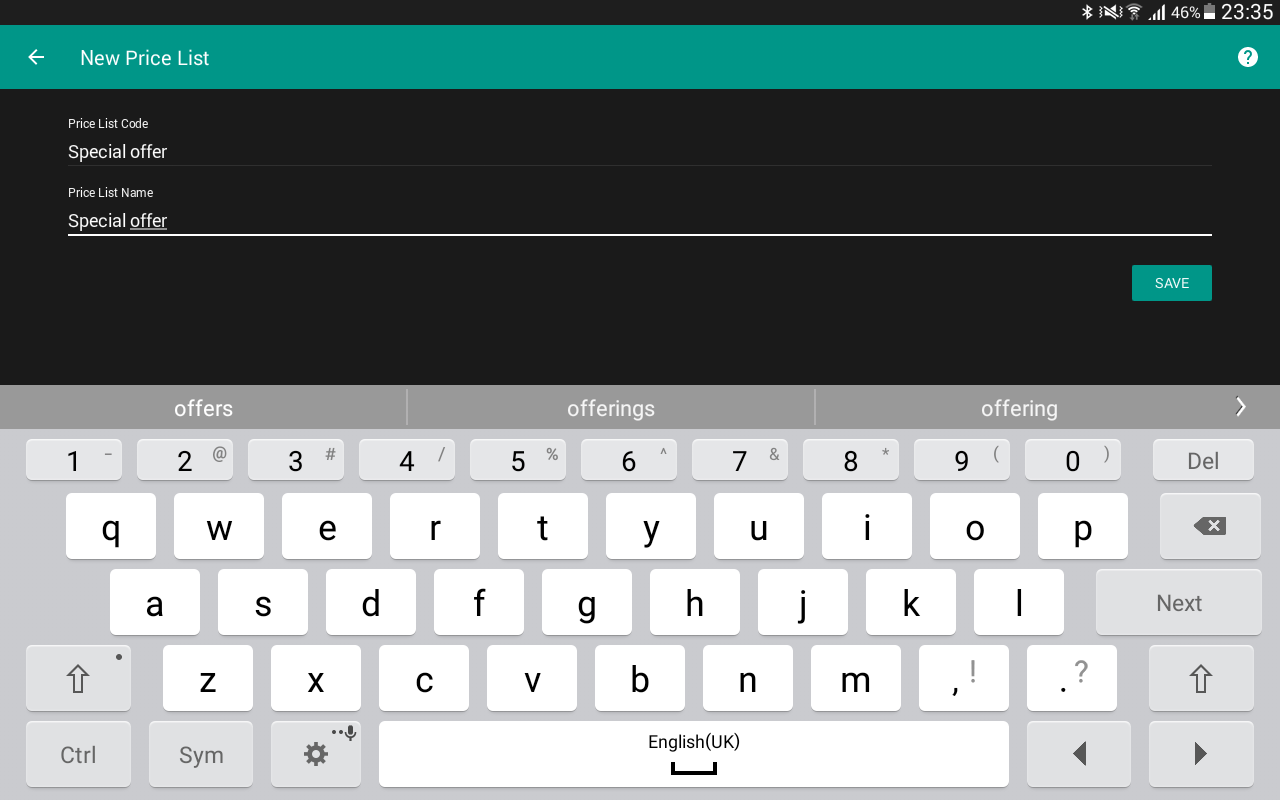
- Press “Add pricelist” button from header bar(Top right corner) in price list display screen.
- Add your new pricelist code, name and then save.
- You can see newly added pricelist in pricelist display screen.
- When you define your item price you can set price for that newly defined pricelist.

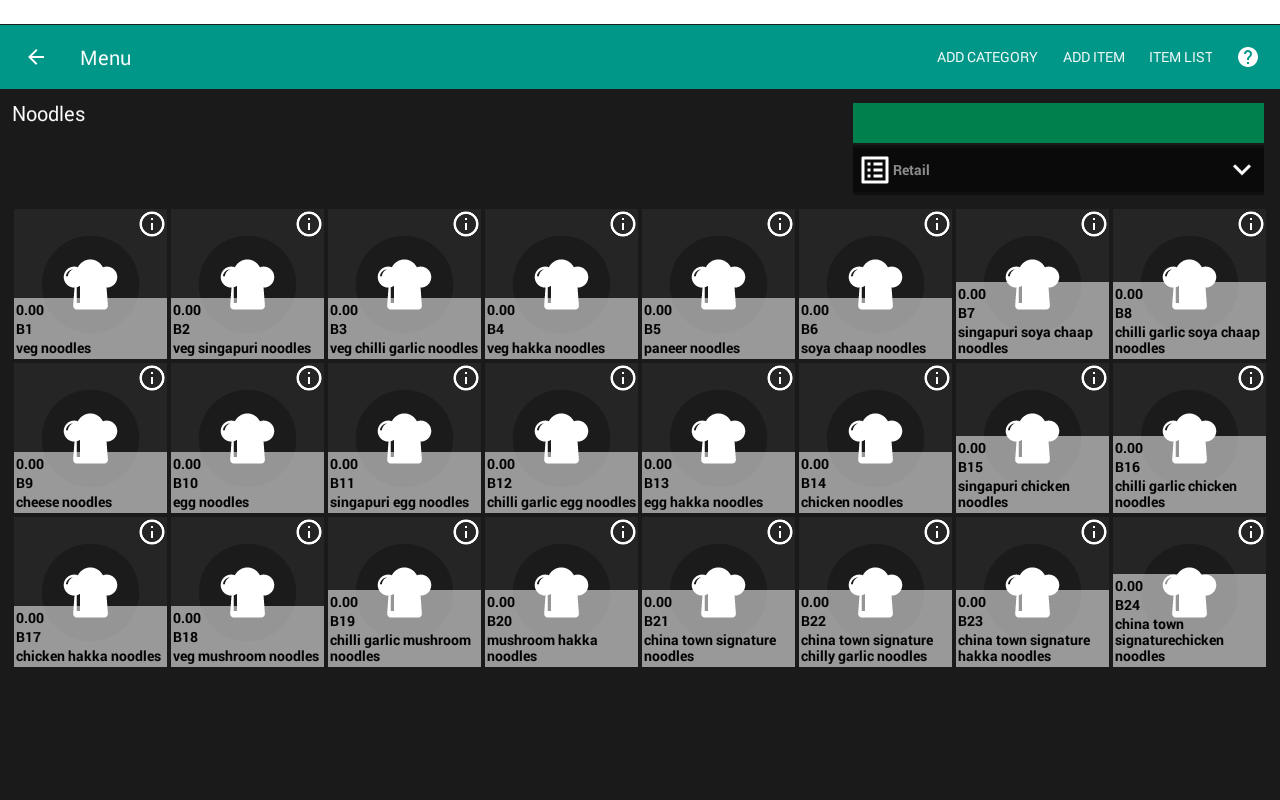
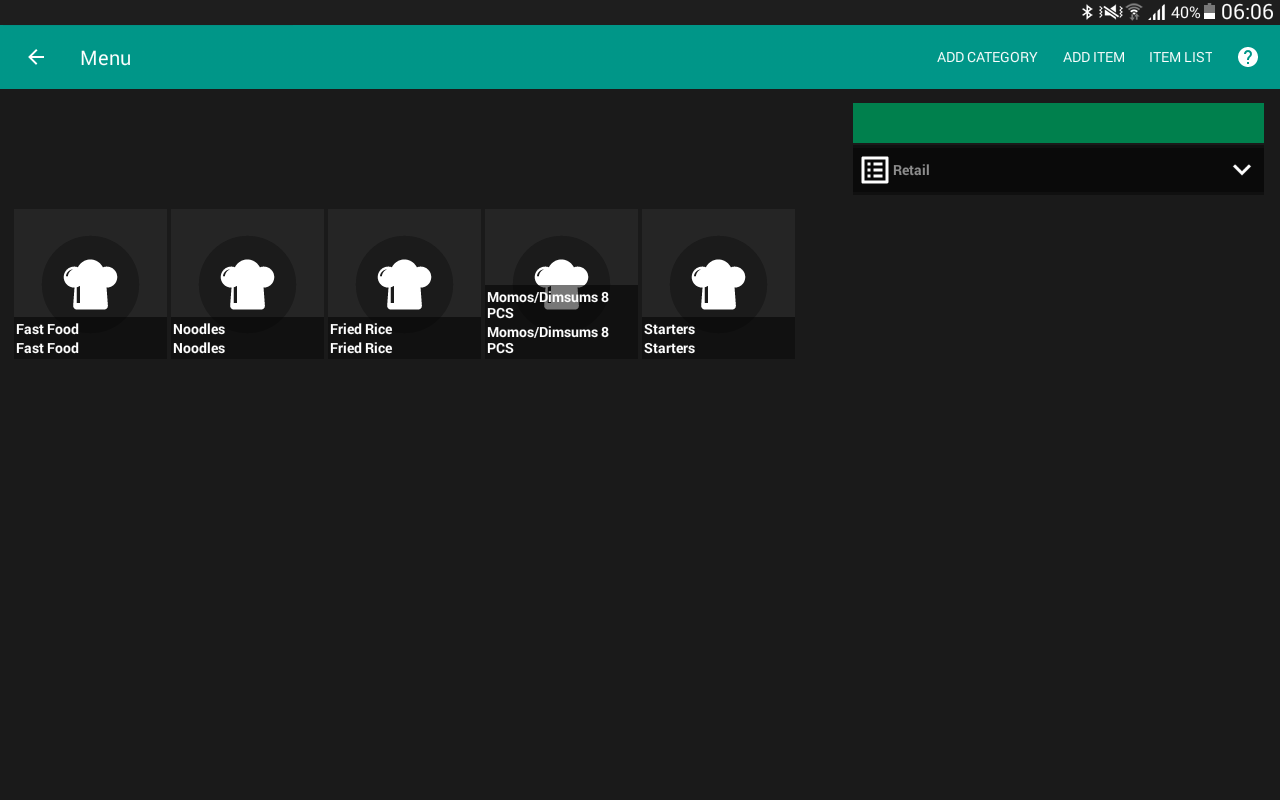
Add subcategories for menu
You can nicely manage your items by categorizing each item. In Incy POS, there is no any restriction to create categories. You can defining unlimited nested categories in each category.
Steps:
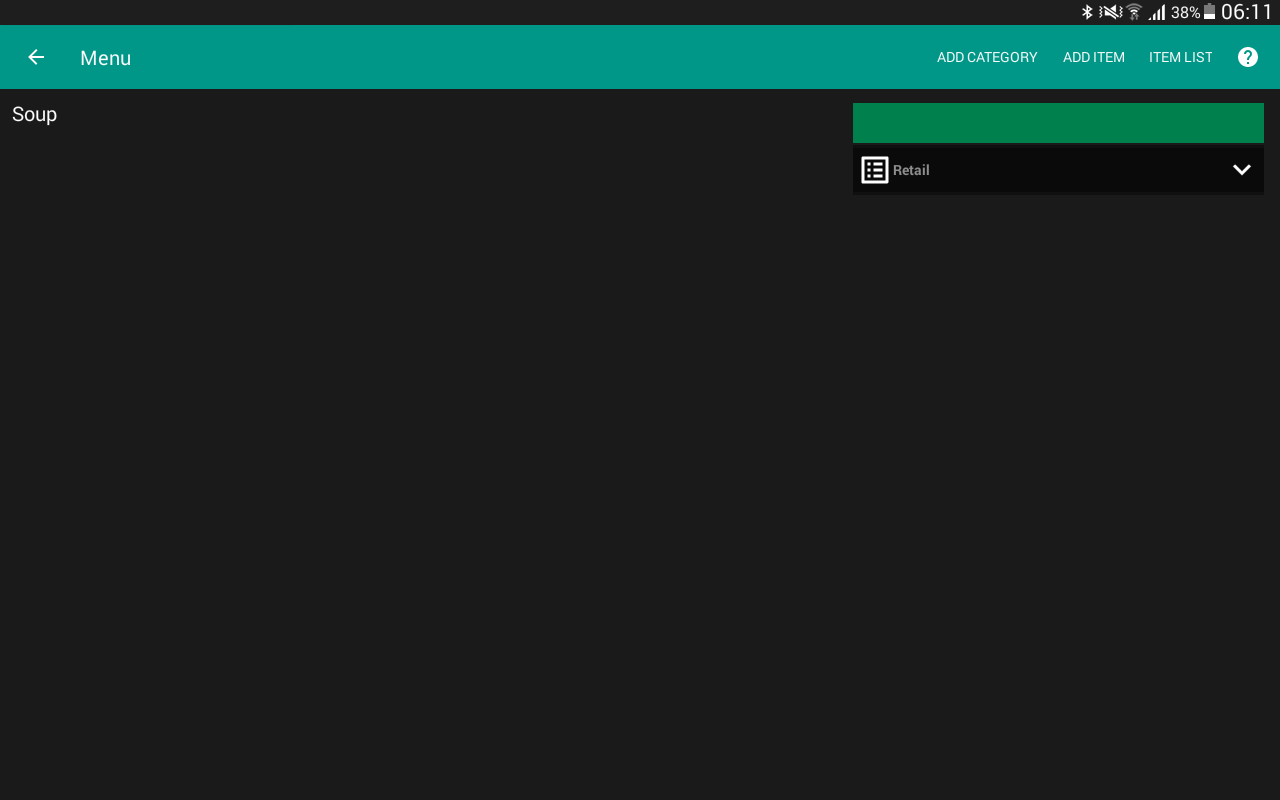
- Select “Setup menu” tile from dashboard option list.
- Press “Add category” button from header bar in item list display screen.
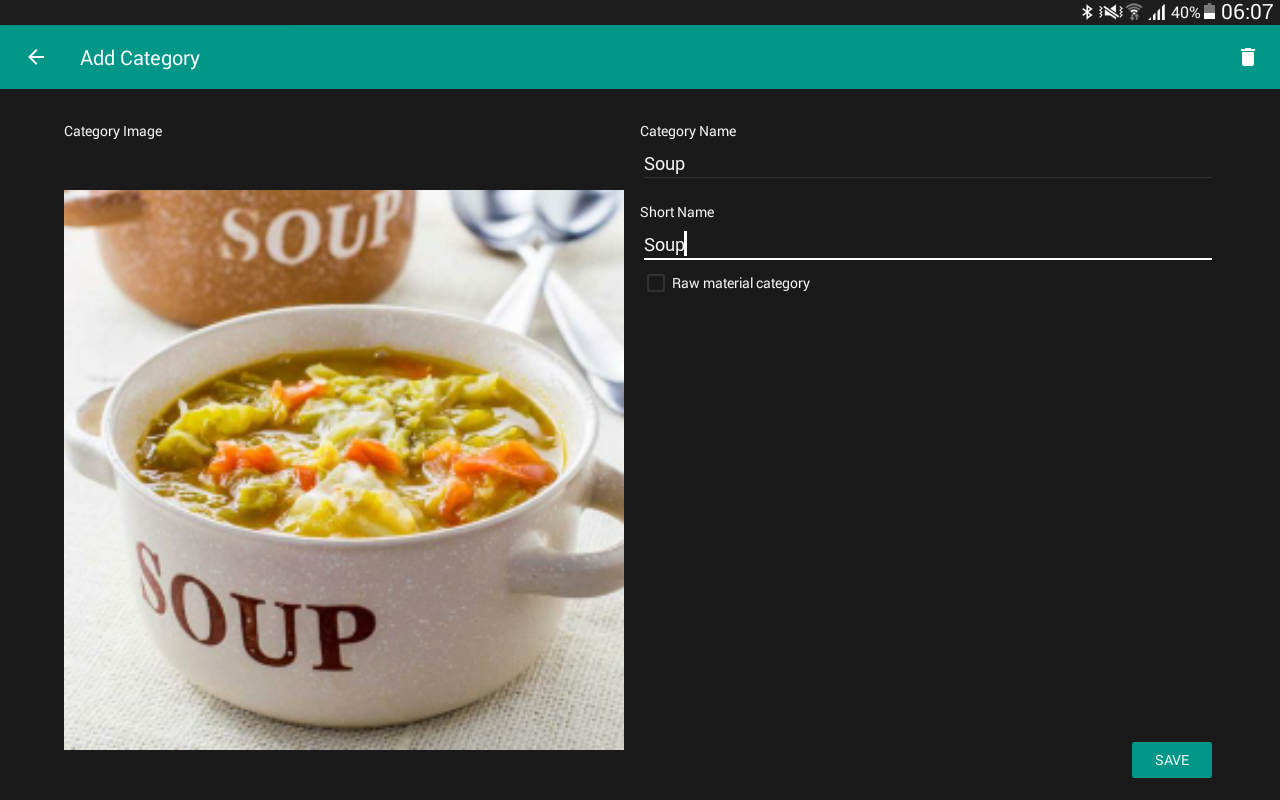
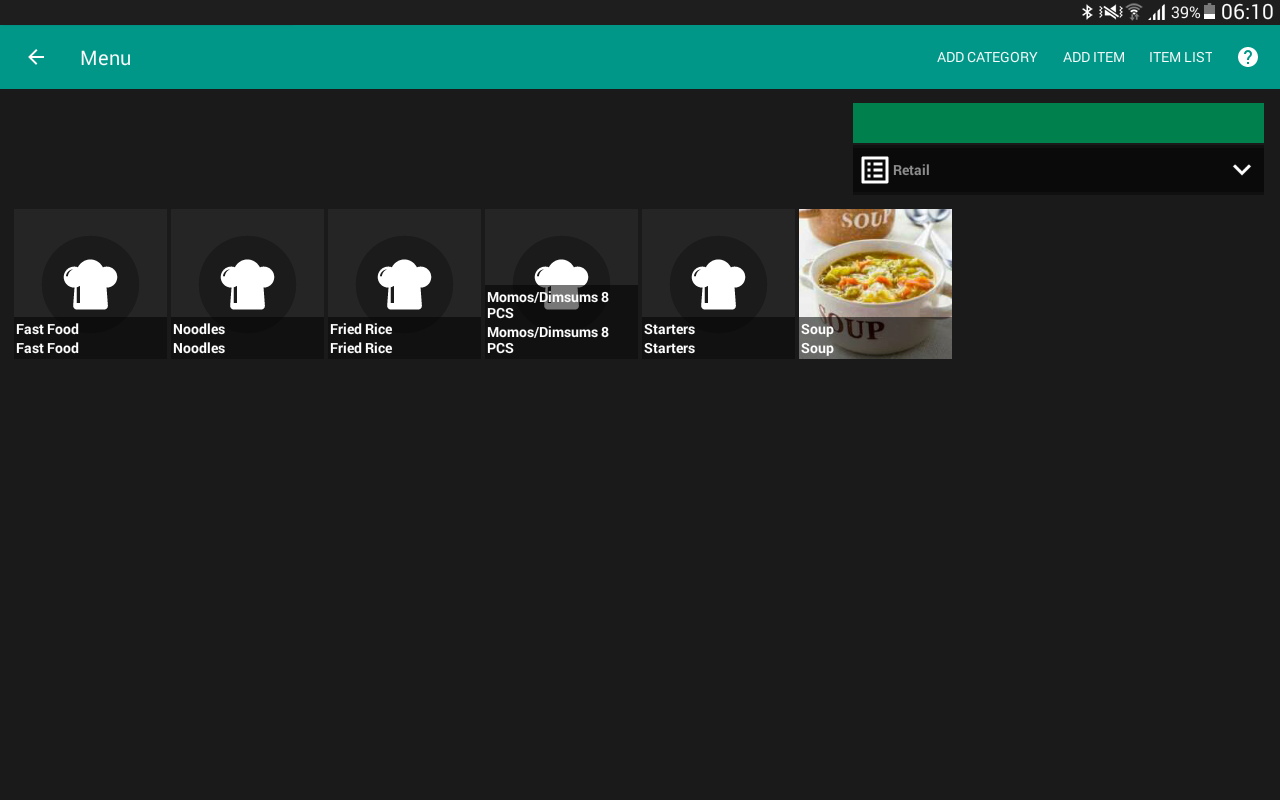
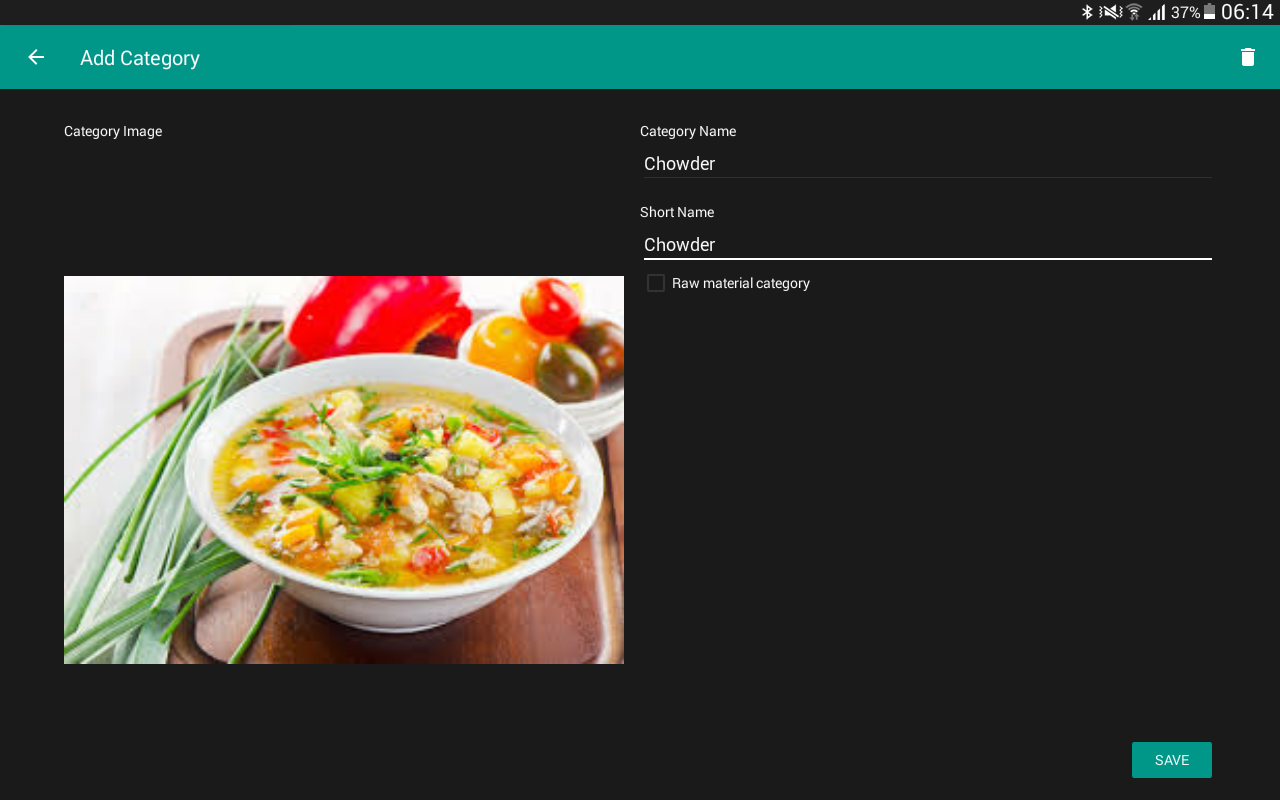
- Add your new category by providing category details and “save”.
- If you want to add a subcategory inside the newly added category, select newly added category.
- Press “Add category” button from header bar in category view screen.


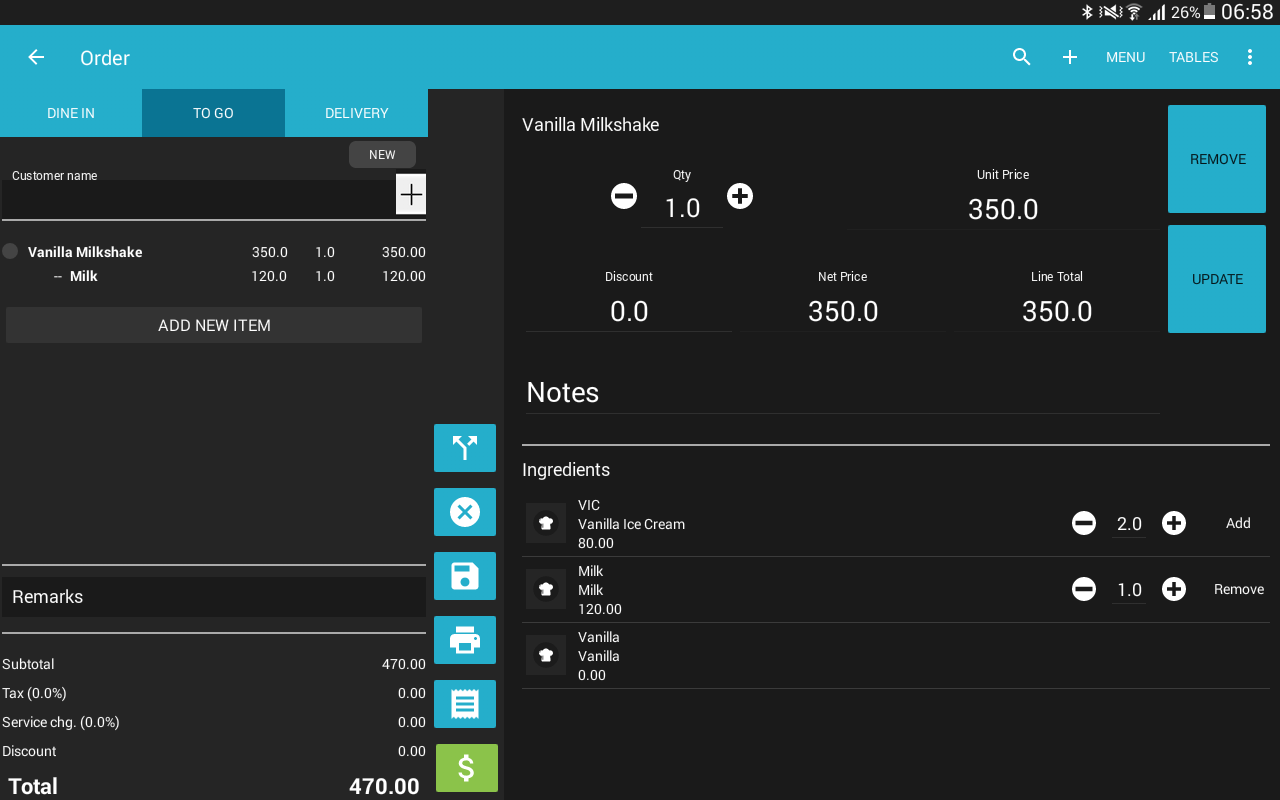
Enable modifiers
Incy POS allows you to modify the content of menu items(ingredients) as per customer request. If an ordered item contains modifier items, customers can request to add more modifiers to their item. When changing modifiers it’ll updates the bill automatically.
Steps:
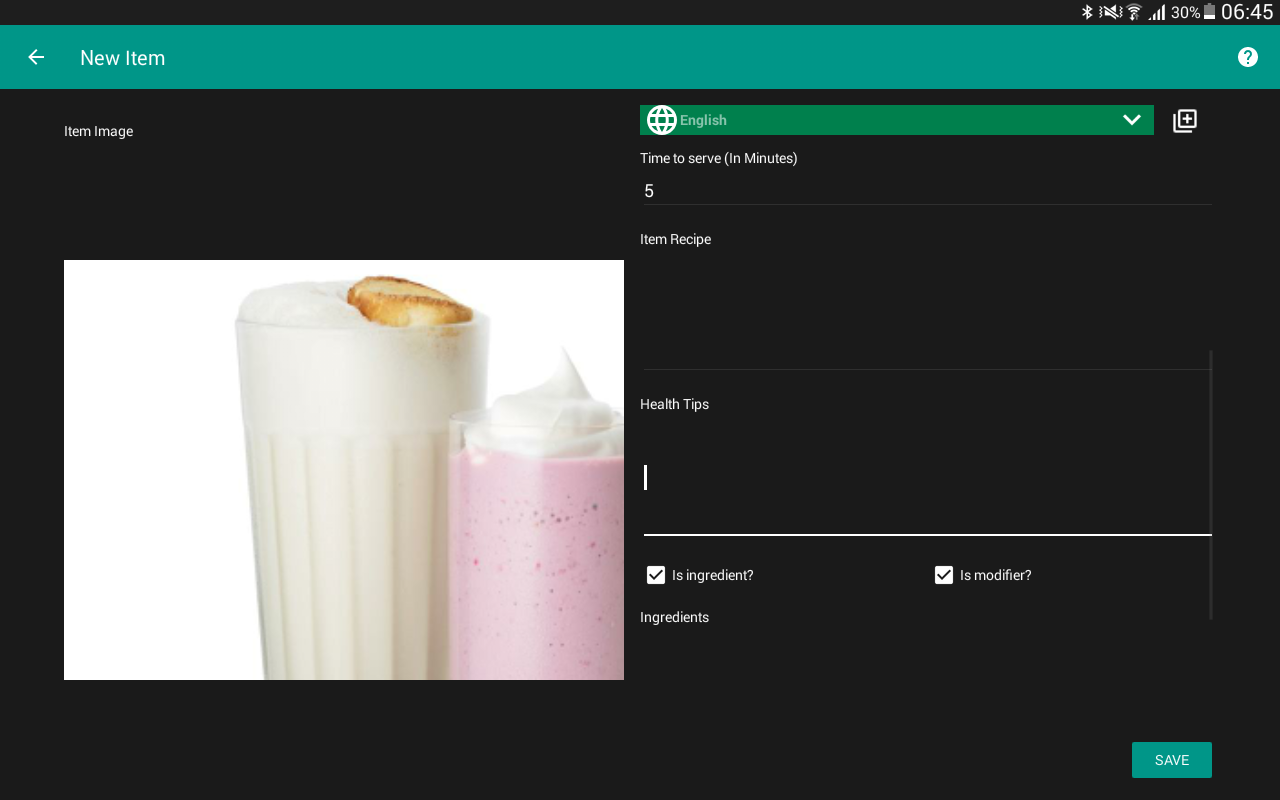
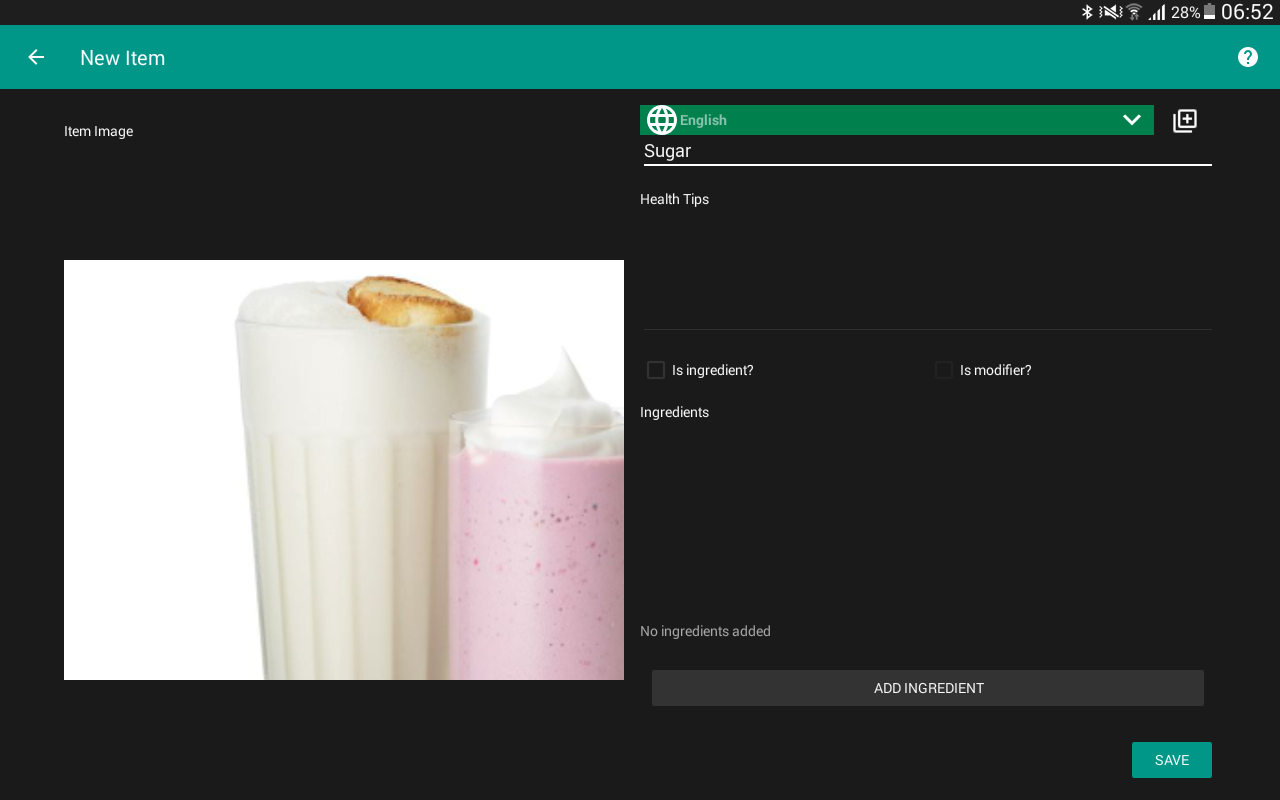
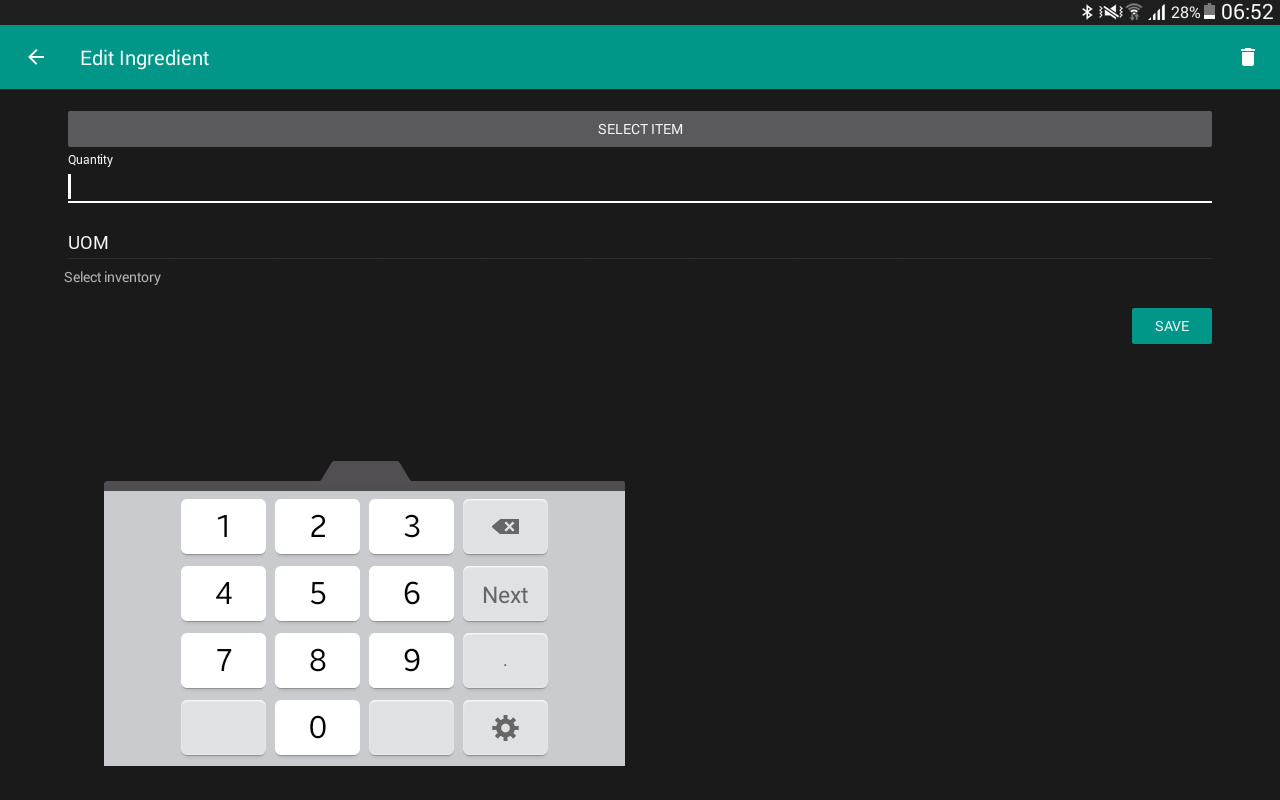
- Define items as ingrediants and make sure to enable their type as modifire. We are adding vanilla ice cream and milk as modifier ingrediants. (Note: To add an item, press on setup menu, then press "add item" on top header in menu screen).
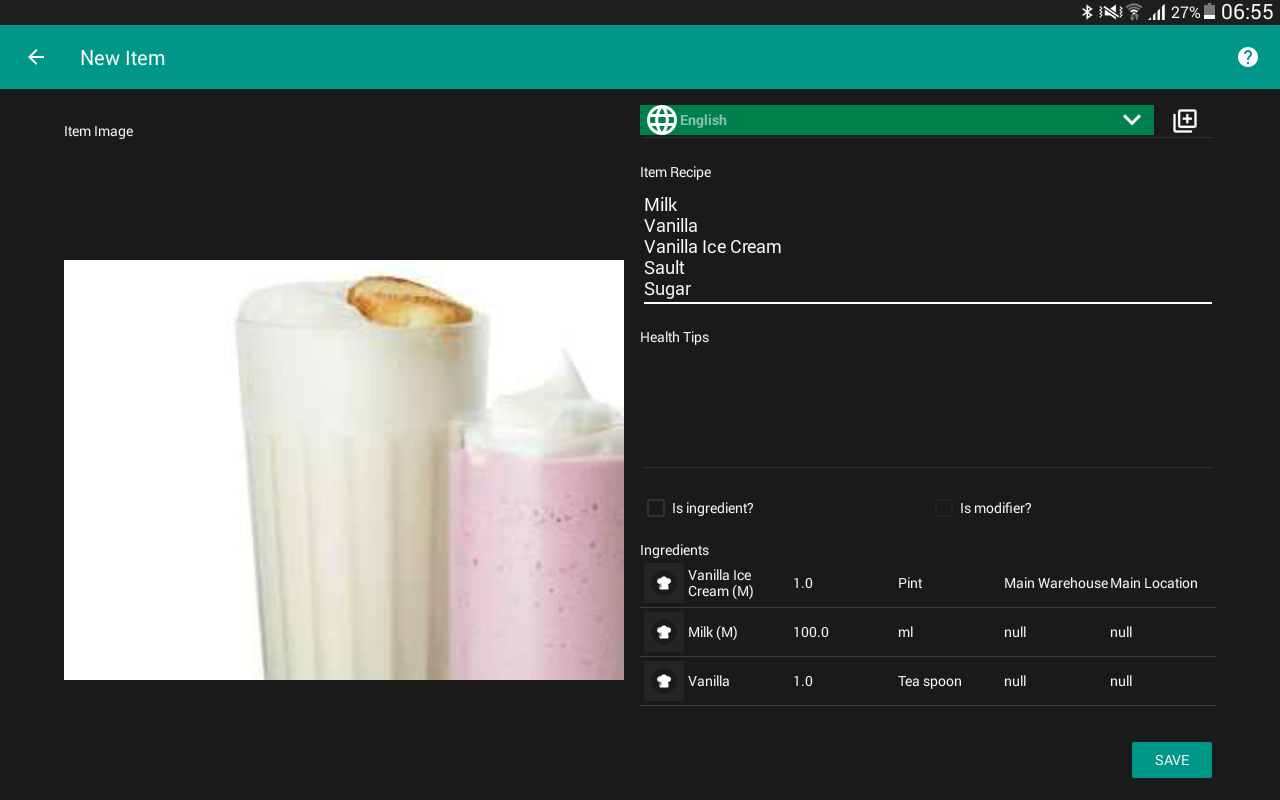
- Define an item by adding ingredients. Here we demonstrate adding an item called Milkshake. We can add modifier ingredients which we defined in step 1, to milkshake item. So customers can request to add more modifier ingredients depending on their taste.
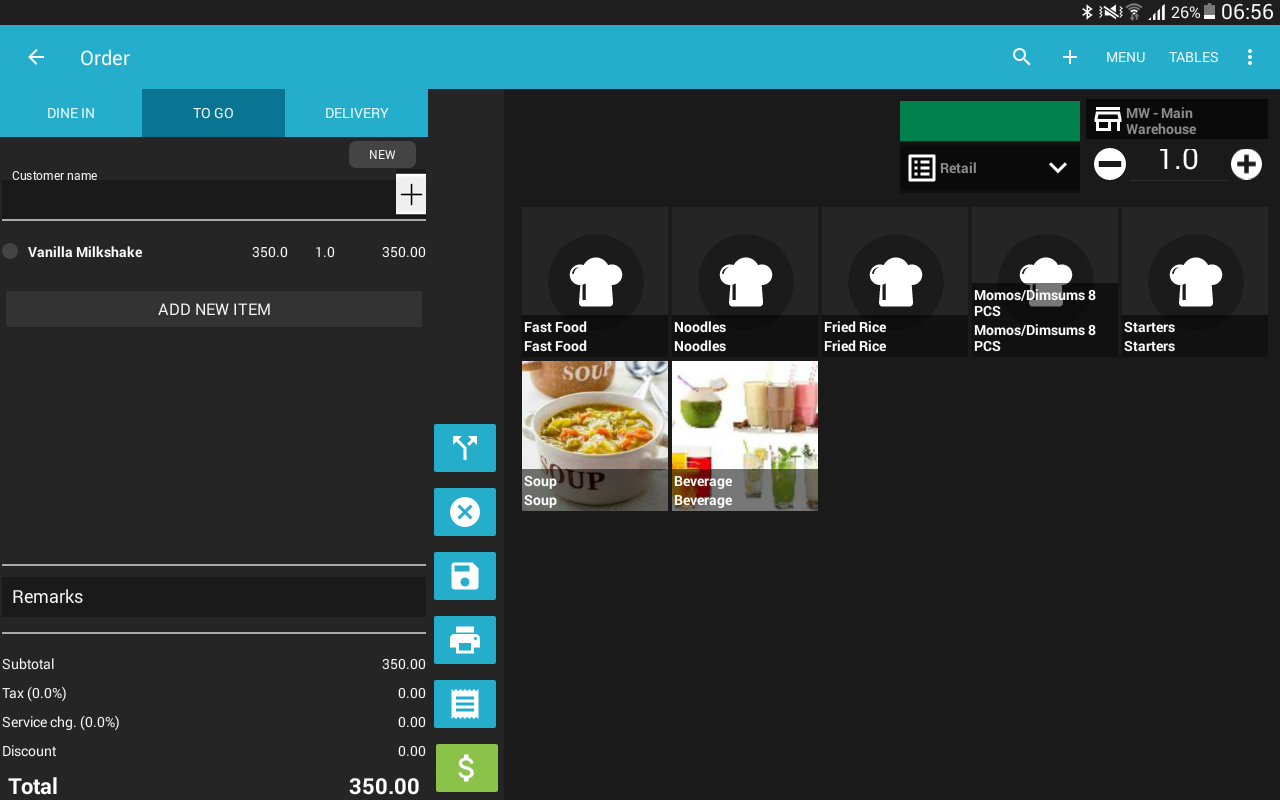
- Then place an order with the item which you defined in step 2.
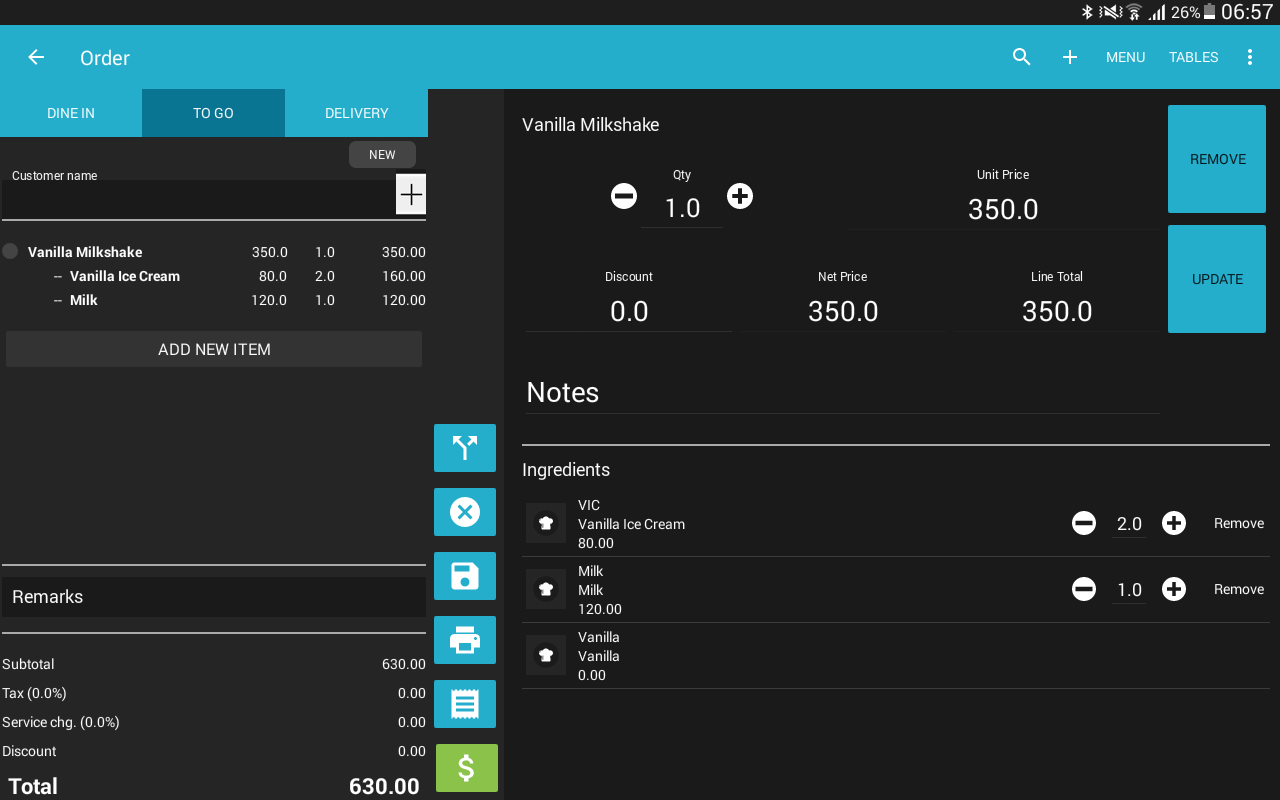
- You can update added item quantities by pressing on the selected item.
- Update modifiers quantities.
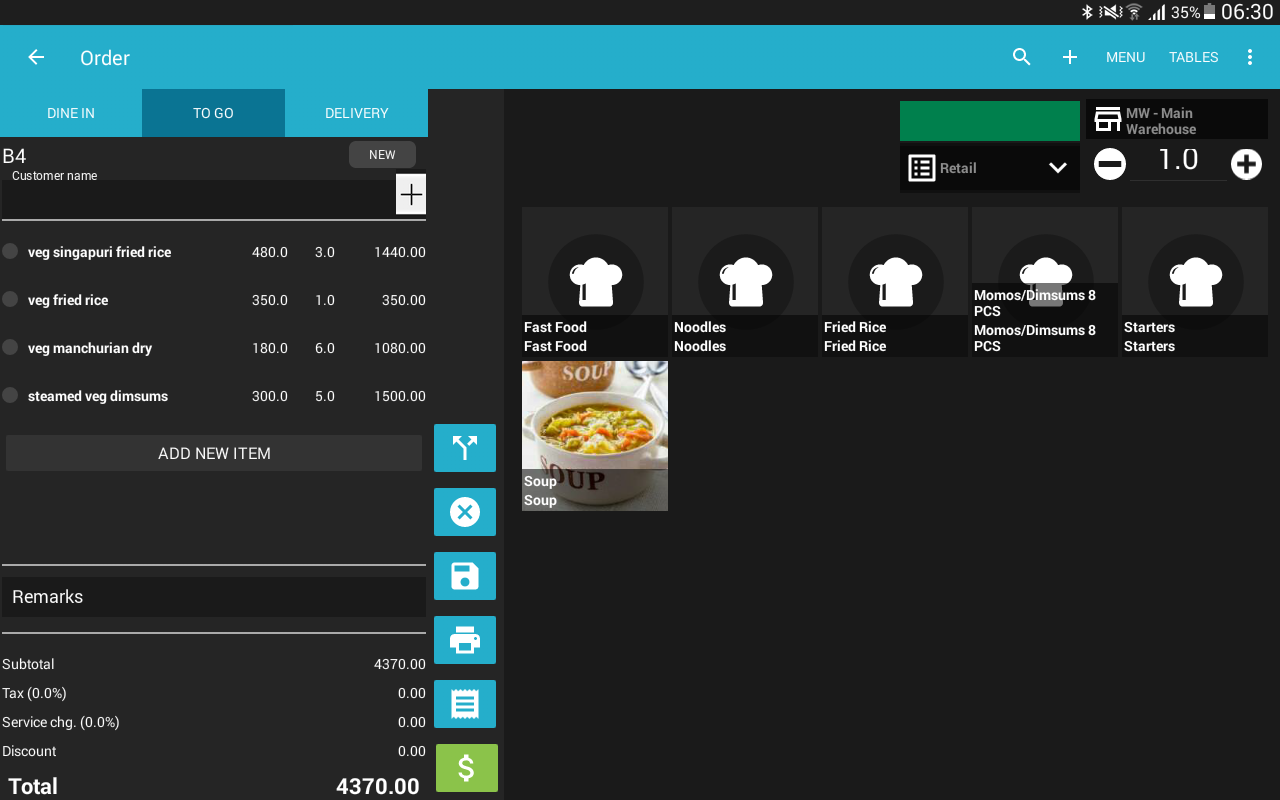
Split a bill
With Incy POS you can split bills as per customer request easily. This section will guide you how to split a bill.
Steps:
- In place order screen select “Split Bill”.
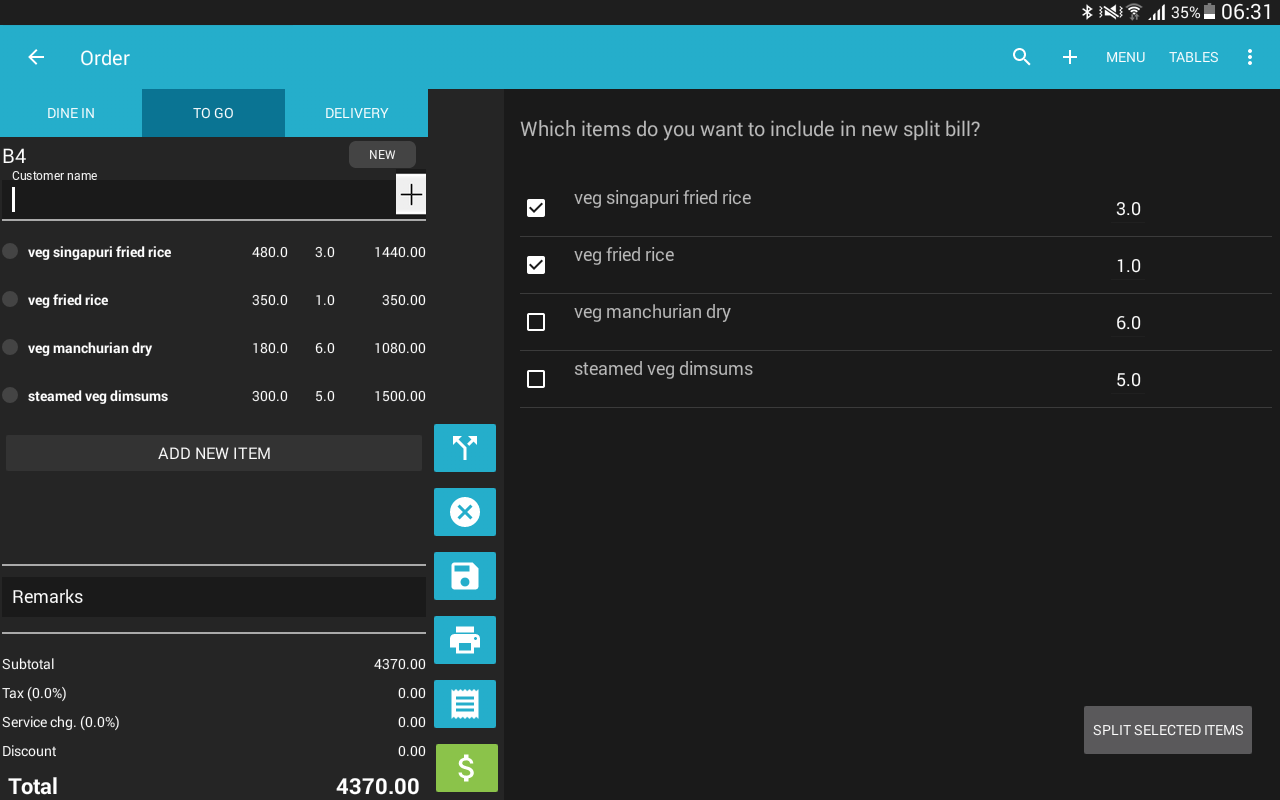
- When you press the “Split bill” option, it’ll show ordered item list with selection option.
- Select item/items which you need to split and press “Split selected items”.
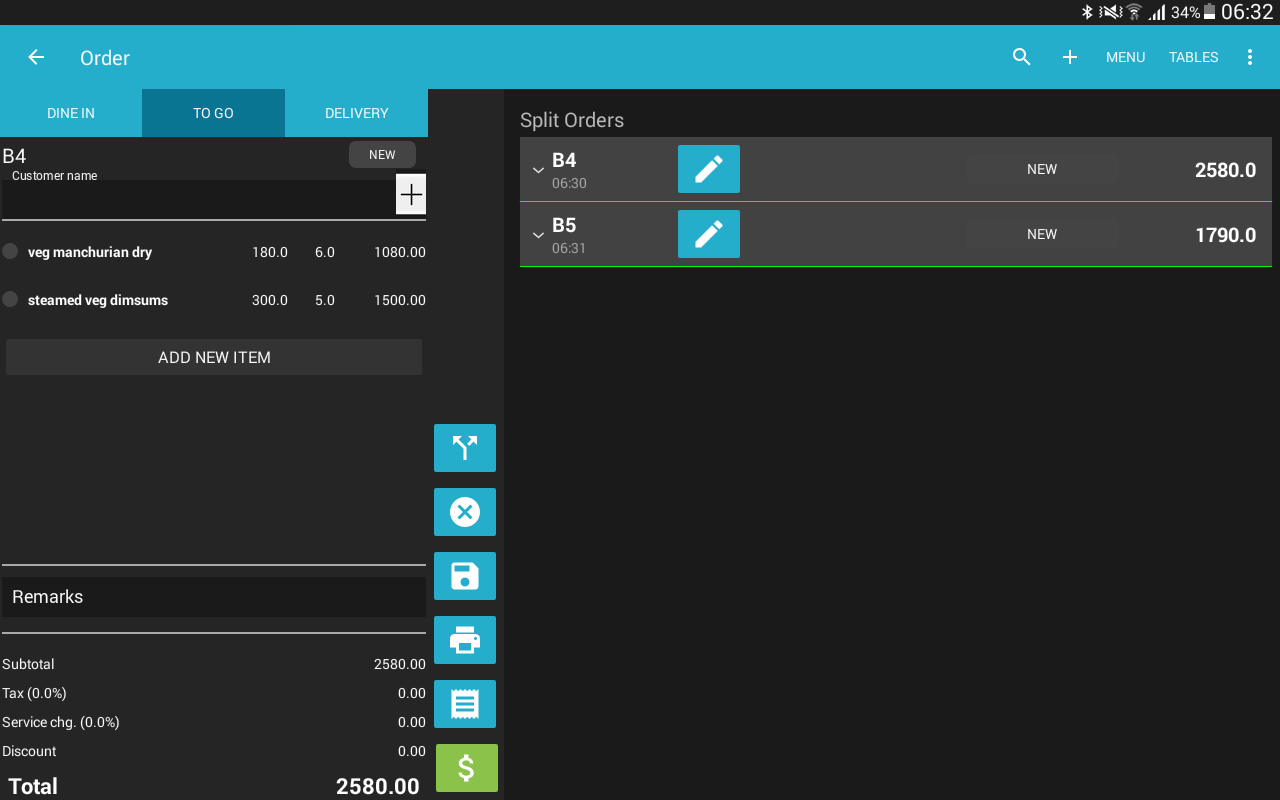
- Now you can see the split orders list and press “edit” button to settle each bill.
- Press payment button.
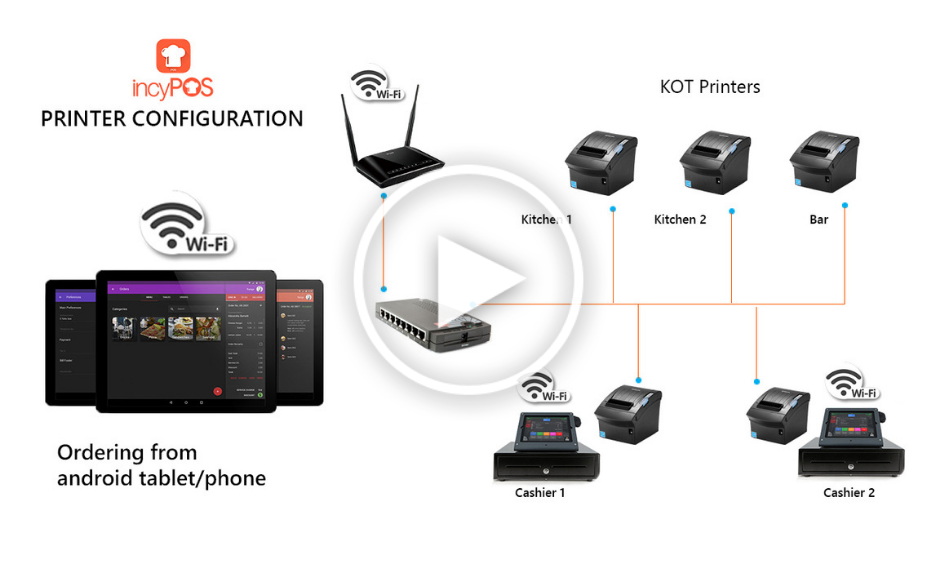
Printer setup
With Incy POS you can manage multiple printers for your restaurant. Following video guide will help you to configure your printers.
Back office
incyPOS back office is an information management tool that visually tracks, analyzes and displays key performance indicators (KPI), metrics and key data points to monitor the health of a business. Behind the scenes, a incy POS back office connects to your files, attachments, services, but on the surface displays all this data in the form of tables, line charts, bar charts, etc. Incy POS back office is the most efficient way to track multiple data sources because it provides a central location for businesses to monitor and analyze performance. This guide provides you, how incy POS back office helps you to analyze your business.
In this section
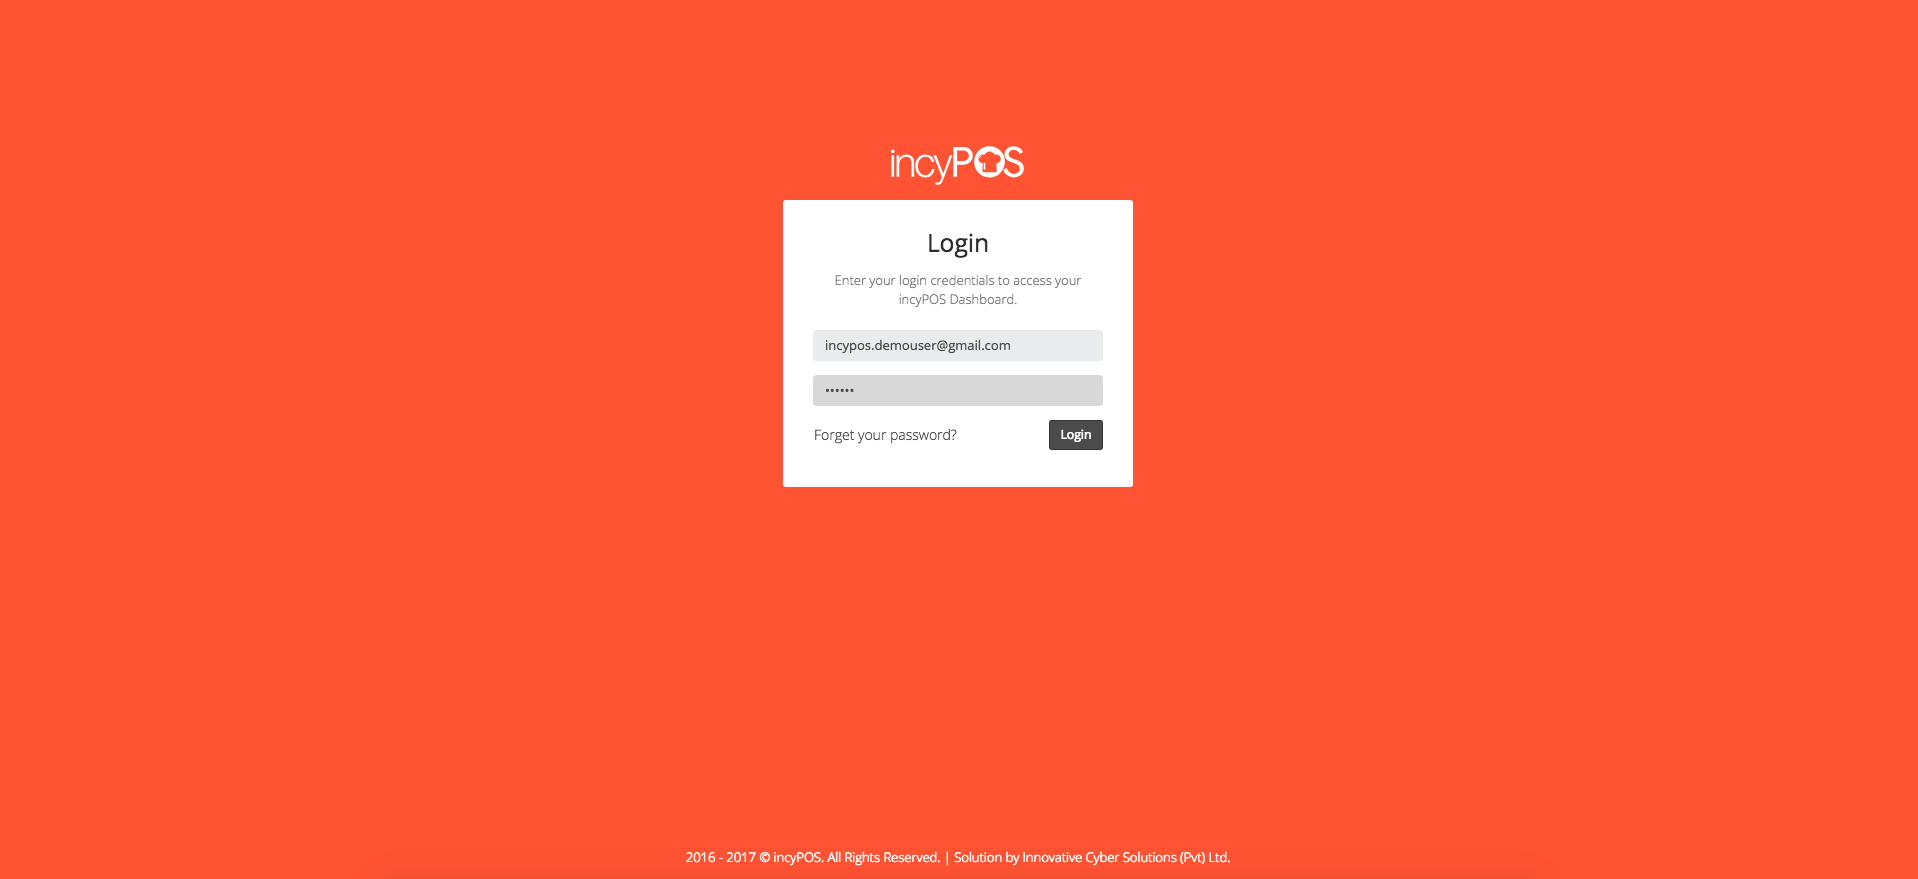
Log in to back office
First, you should log in to the incyPOS back office. Following steps will guide you how to login to incyPOS back office.
Steps:
- Open web browser.
- Enter console.incypos.com in address bar.
- Enter your incyPOS app registered email and password.
- Press Login.
Tip: Click on images to see expanded view.
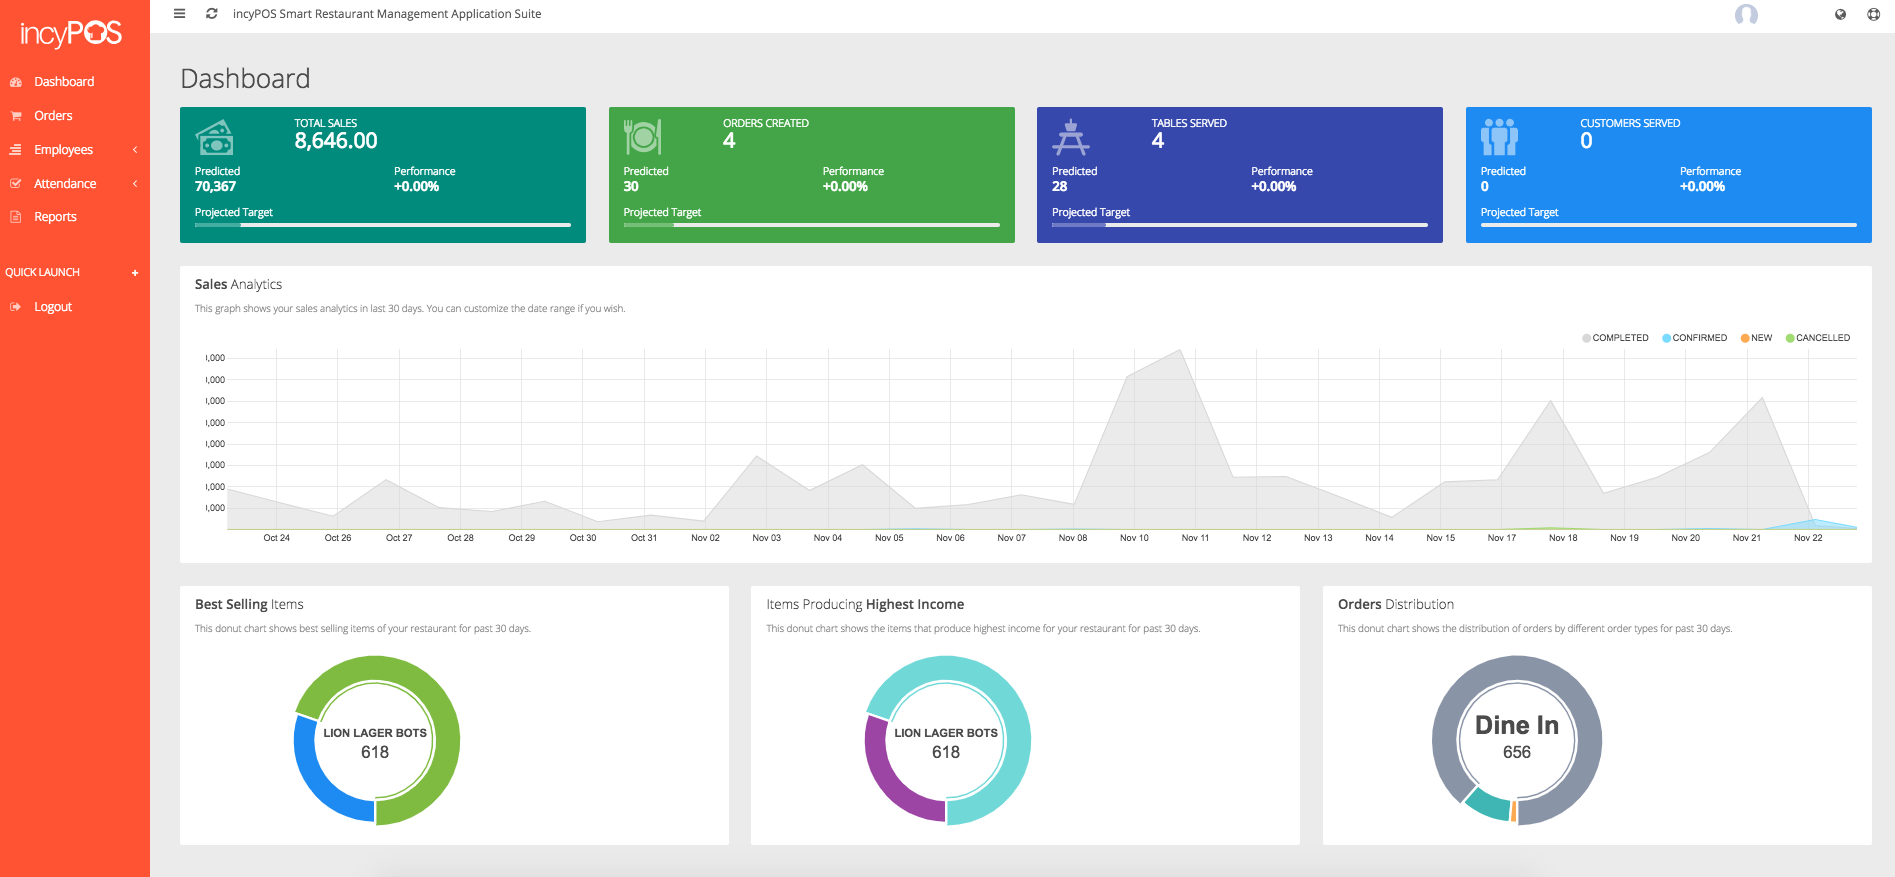
Dashboard
The dashboard helps you to understand the overall picture of your business. In the dashboard, you can see three sections.
- Daily analysis of your business.
- Sales analysis of the last 30 days.
- Quick overview about best selling items, items producing highest income and orders distribution in the last 30 days.

Figure: Daily analysis of your business.

Figure: Sales analysis of the last 30 days.
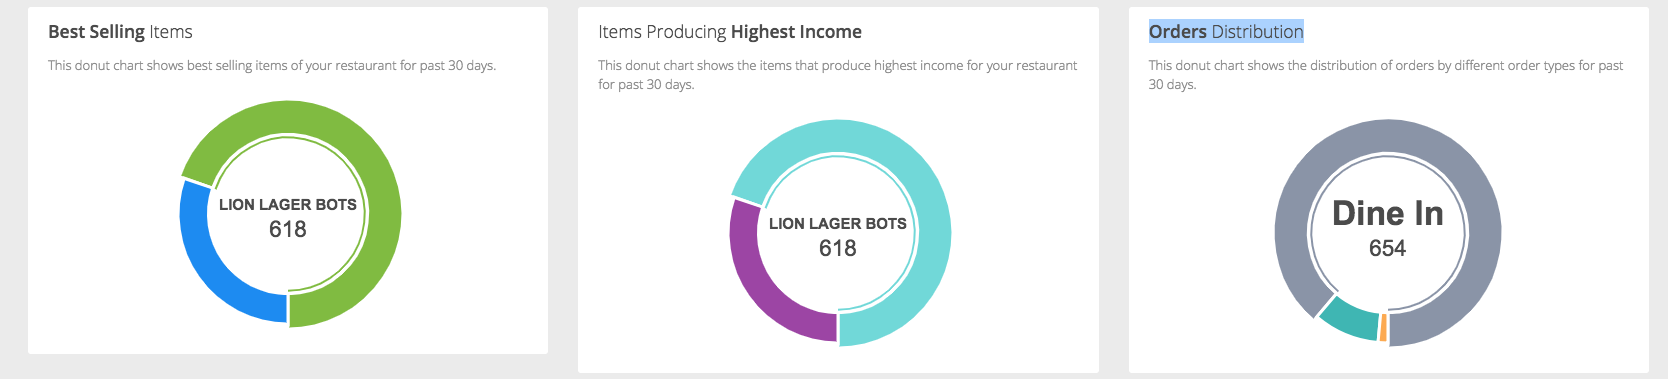
Figure: Quick overview about best selling items, items producing highest income and orders distribution in the last 30 days.
Tables and reports
How your restaurant is going today? With incyPOS back office helps restaurant owners to an analysis of daily reports on total turnover, sale per menu items and reports on working hours of your staff. Make your business more successful and to reach your goals, each of these reports is a powerful fact.
In this section, we’ll discuss back office tables and reports. incyPOS back office provides restaurant owners to get the overall picture of your business by using an easily understandable table structure and printing of all necessary reports such as an end-of-shift report or individual and cumulative reports for certain periods.
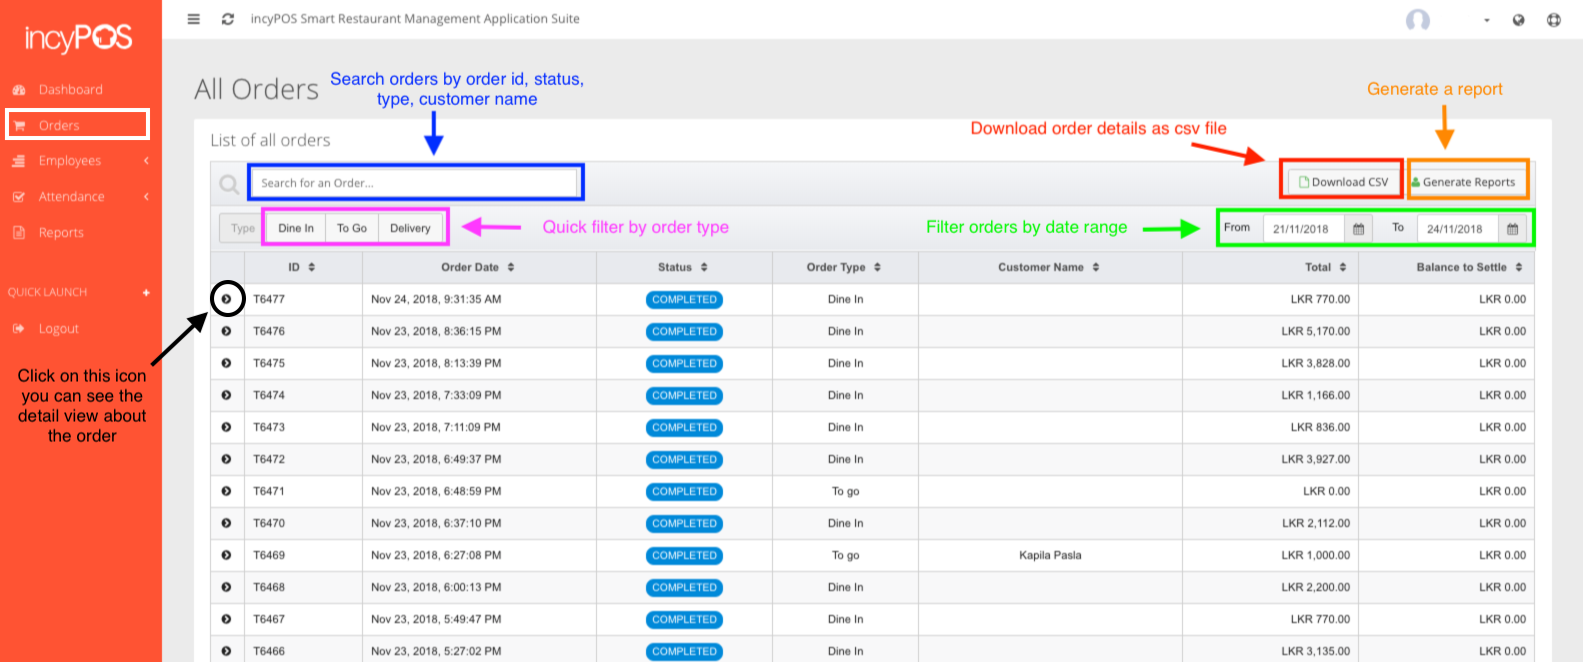
Orders
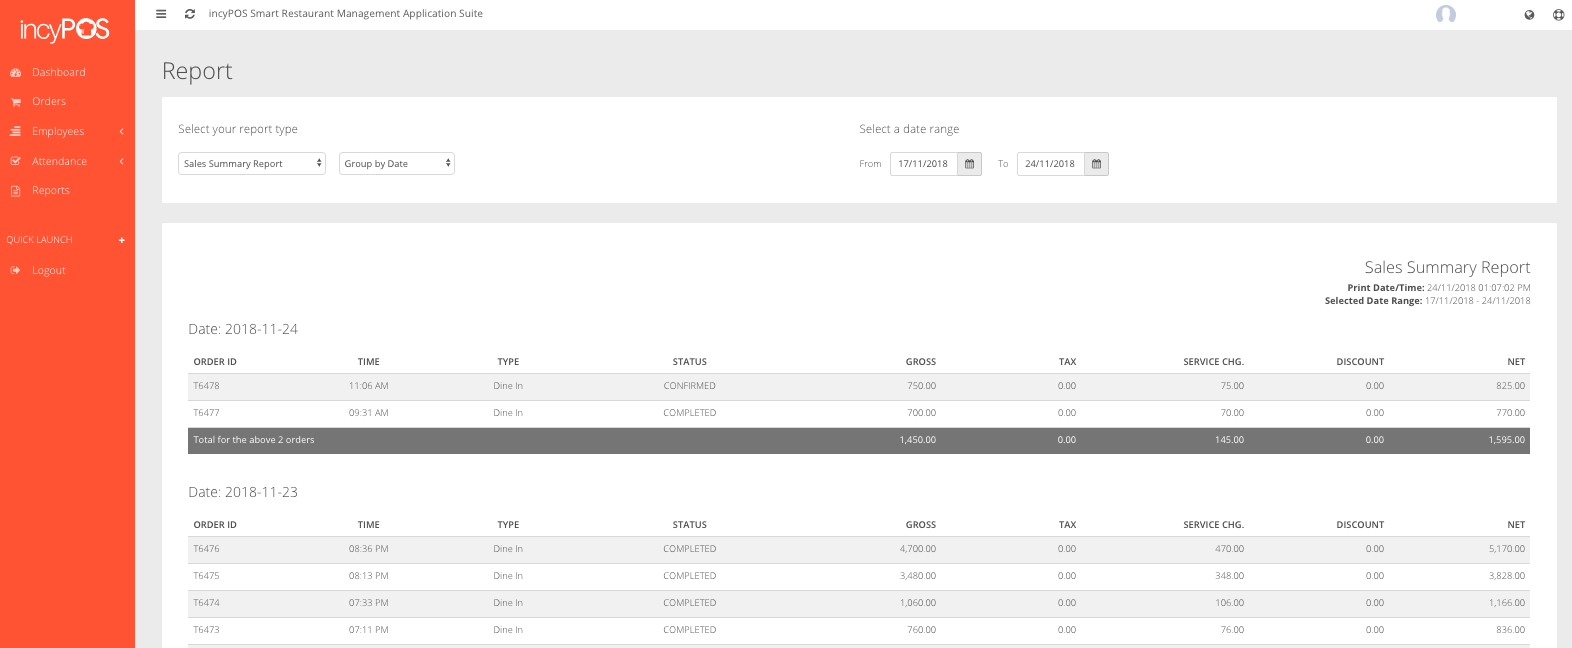
Reports
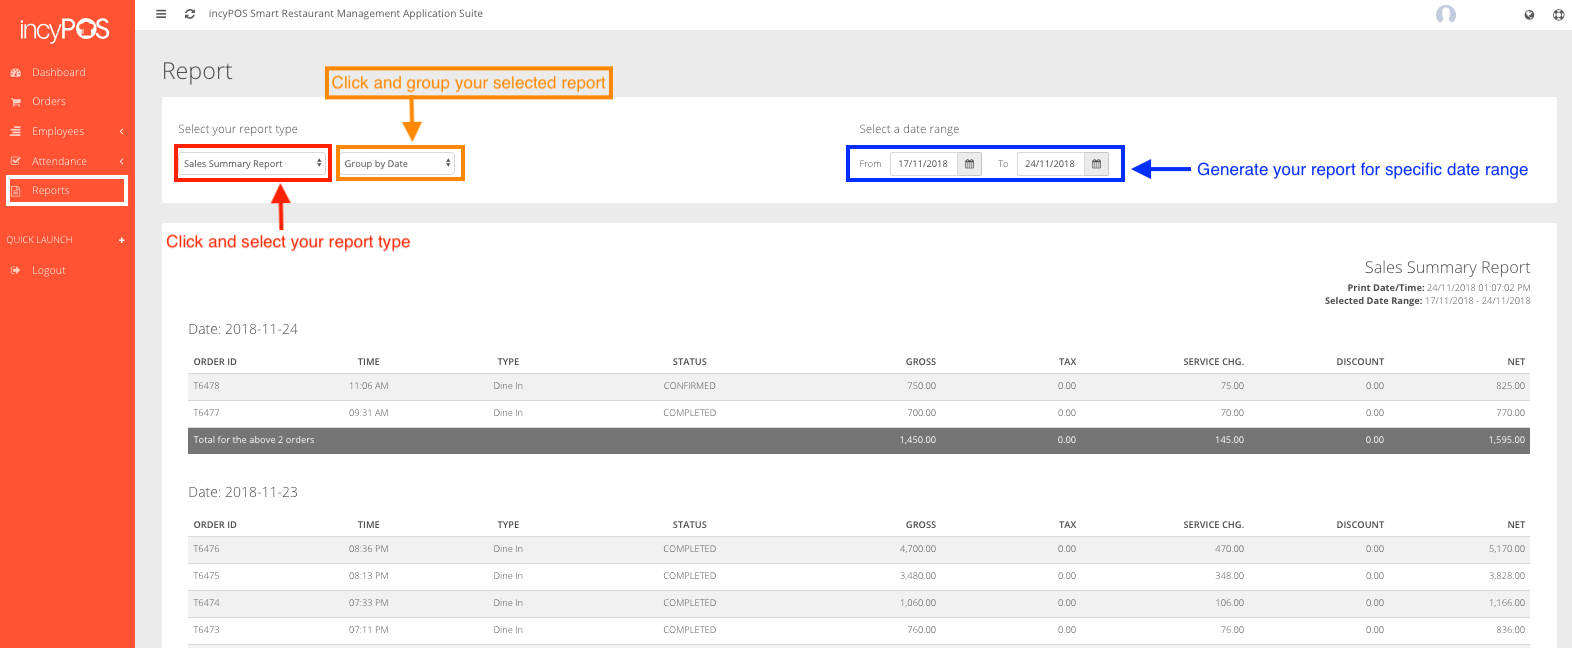
Following images will show some of the reports that have been generated by incyPOS back office.
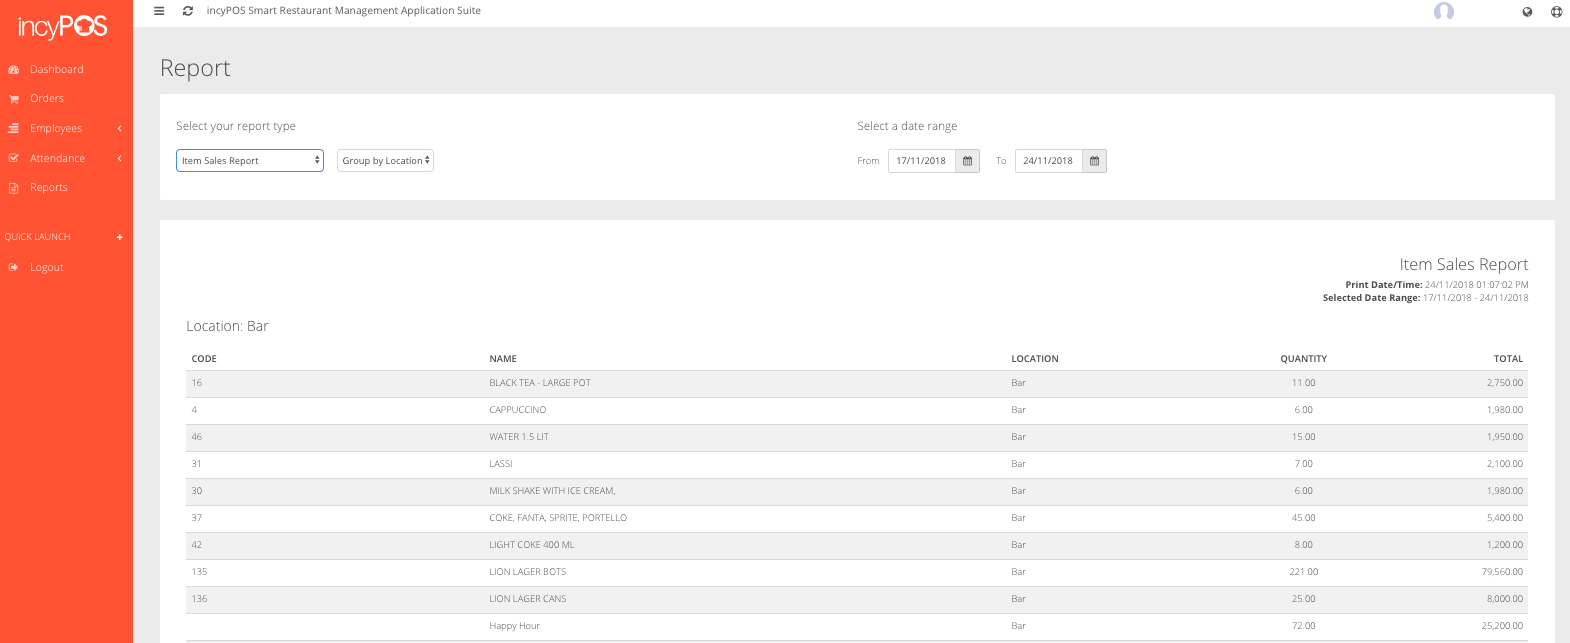
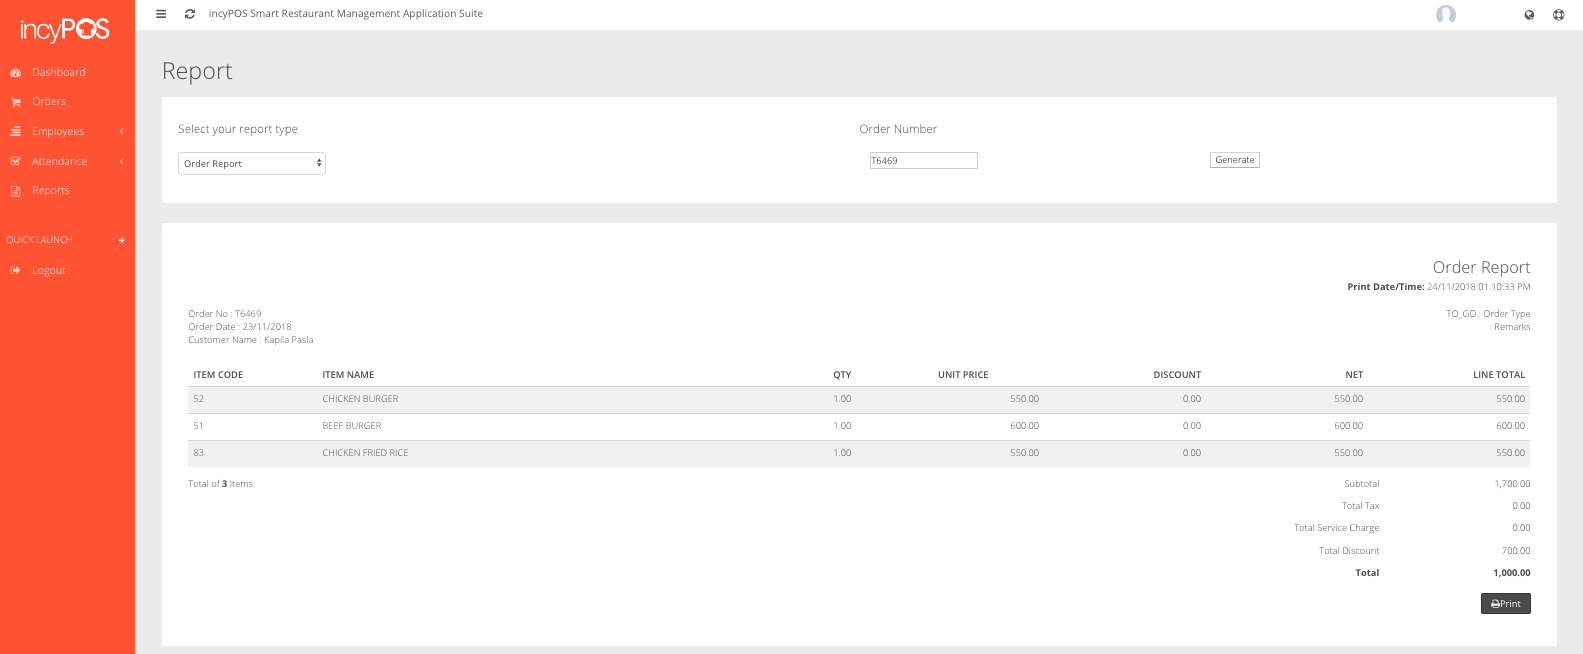
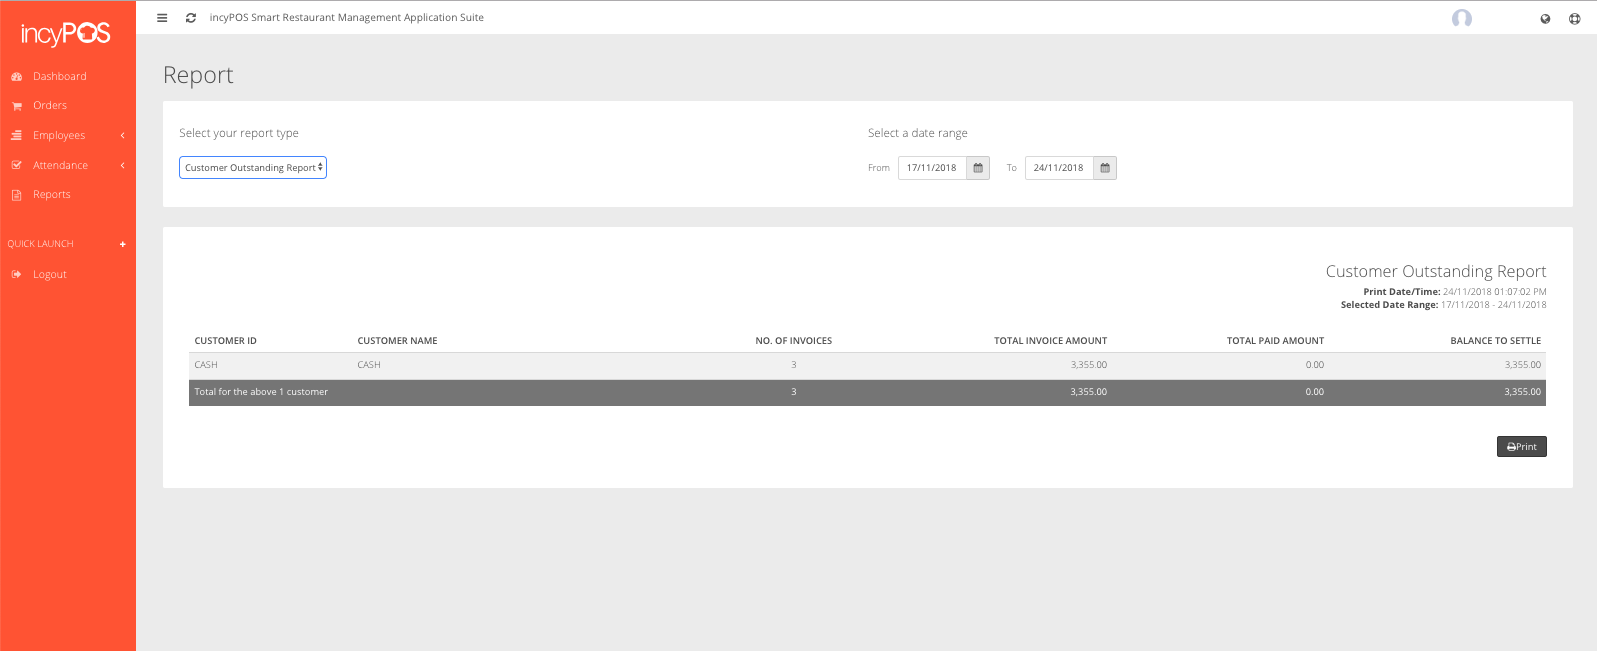
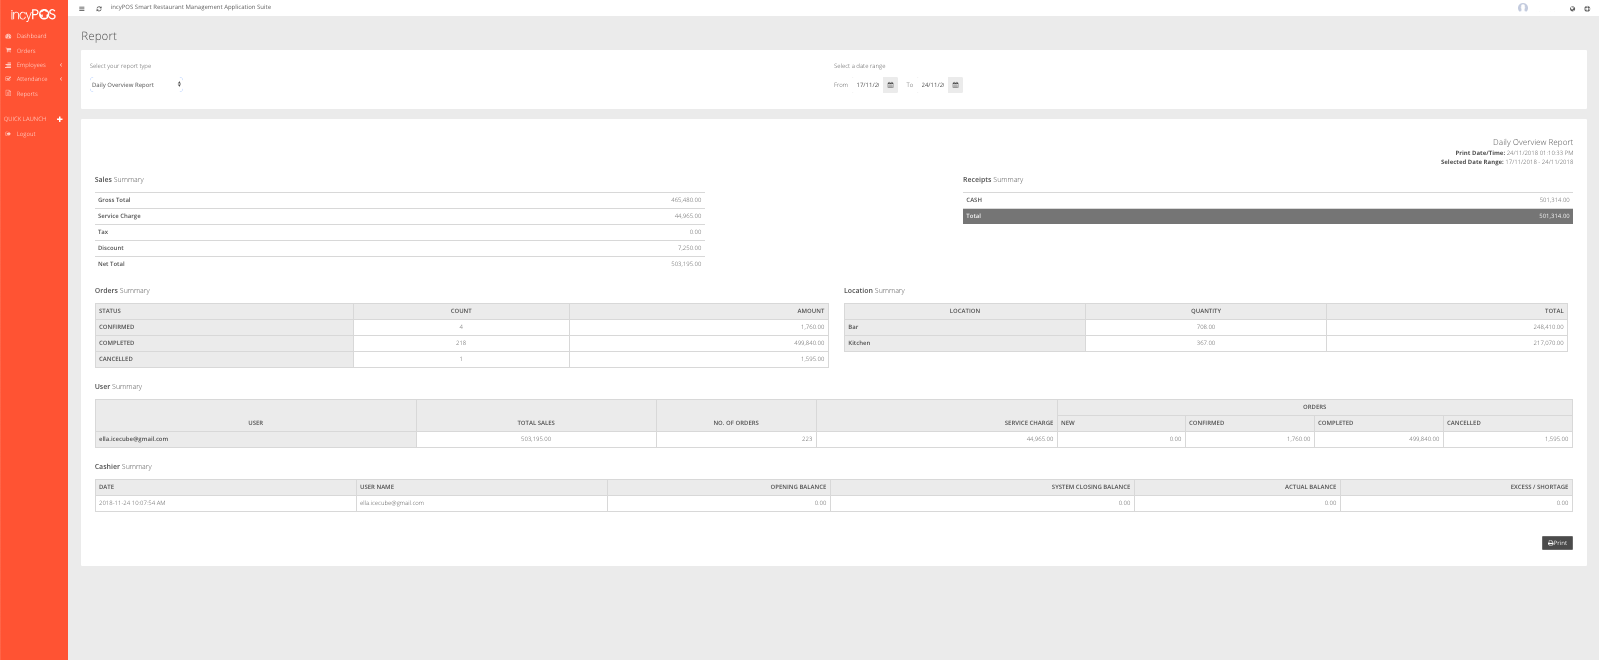
Tip: Click on images to see expanded view.